





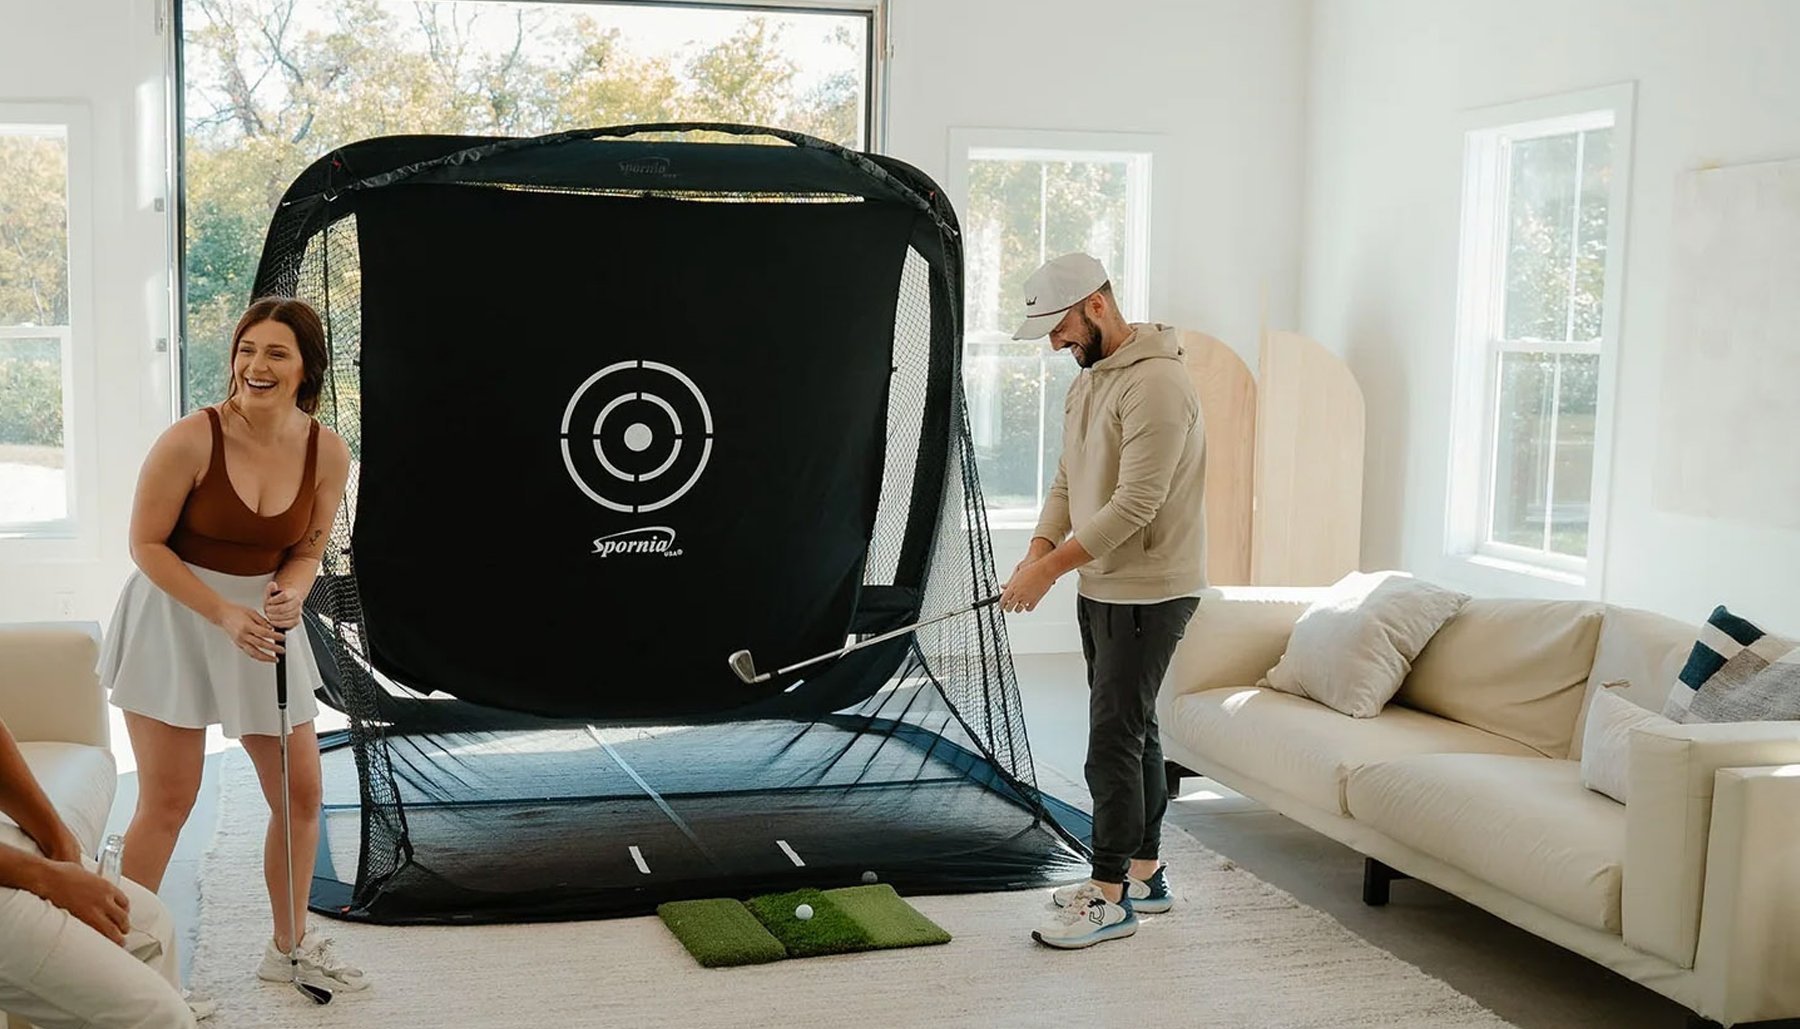
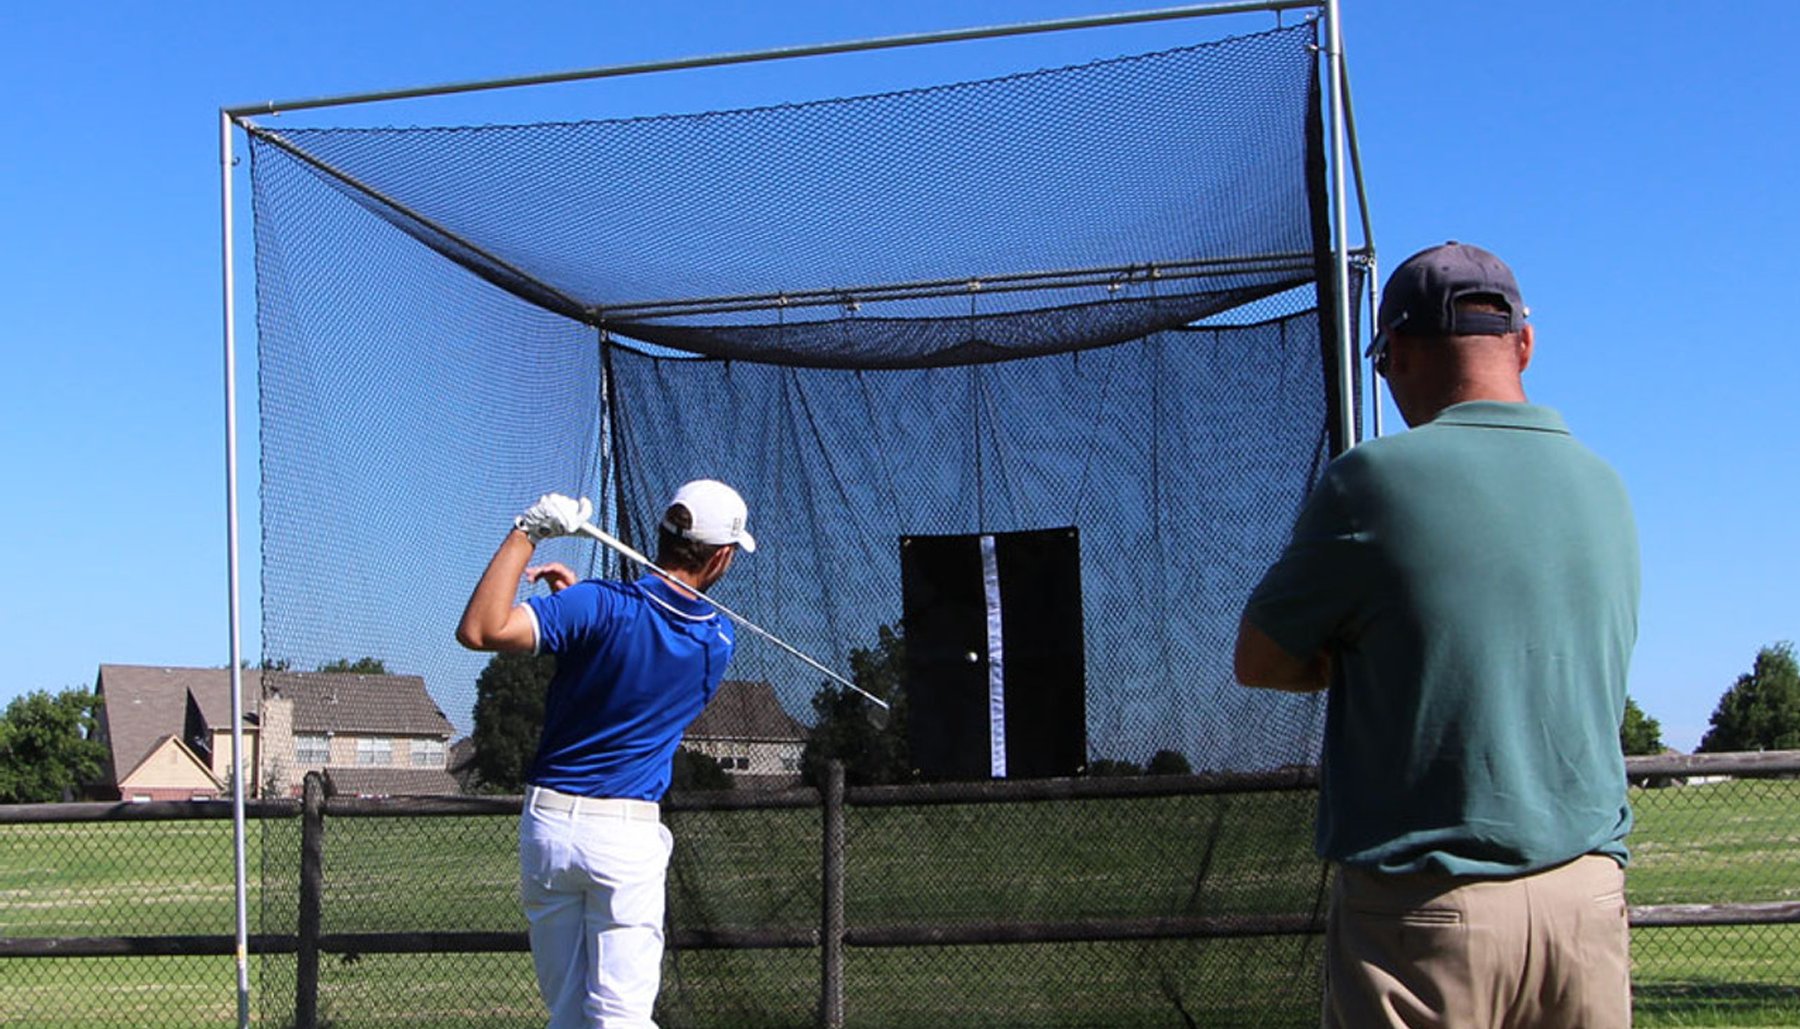


Compare golf simulator enclosures by the space they occupy, the surrounding coverage they provide and the components included. The right enclosure depends on your room, who will use the simulator and the type of installation you want to build.
America’s Golf Mats offers four enclosure series: America’s Compact™, America’s Choice™, America’s SafetyMax™ and America’s Wall-to-Wall Studio Series™. Start with the comparison below, then review the differences that matter for your setup.
Golf Simulator Enclosure Comparison at a Glance
| Enclosure Series | Enclosure Depth | Main Reason to Consider It | Key Included Features |
|---|---|---|---|
| America’s Compact™ | 2 feet | Conserve enclosure depth in a home, garage, basement or shared-use space. | Premium impact screen and blackout top and side panels. |
| America’s Choice™ | 5 feet | A deeper enclosure for home, garage, basement and dedicated simulator rooms. | Premium impact screen and blackout top and side coverage. |
| America’s SafetyMax™ | 6 feet | Additional golf-ball containment and protective features. | Premium impact screen, RIPSTOP360™ top and sides, baffle net, inset screen and protective foam. |
| America’s Wall-to-Wall Studio Series™ | 5 or 8 feet | Larger home simulator rooms, teaching studios and commercial installations. | Heavy-duty impact screen, baffle net, angled interior netting, Overlapping BlackOut Wrapper and Floating ViewPort™. |
This table highlights the main differences, not every included component or optional upgrade. Check the selected product page for its complete component list.
Enclosure depth is not total simulator room depth. For measuring instructions, a worksheet and all 19 size configurations, use What Size Golf Simulator Enclosure Do I Need?
What the Differences Mean for Your Setup
When Conserving Enclosure Depth Is the Priority
Compare Compact™ and Choice™ when deciding how much of the room to dedicate to the enclosure. Compact™ uses a shallower footprint; Choice™ extends its side and overhead coverage farther into the room.
The tradeoff is enclosure footprint versus surrounding coverage. Consider the ball position and nearby objects before choosing a shallow design simply because it occupies less space.
When Additional Ball Containment Is the Priority
When comparing Choice™ and SafetyMax™, look beyond the one-foot difference in depth. SafetyMax™ adds containment-focused construction, including RIPSTOP360™, a baffle net behind the screen, an impact screen inset approximately 12 inches and protective foam.
Optional rear blackout and SkyGuard™ overhead netting are available for applicable SafetyMax™ configurations. Check the product page to distinguish included components from upgrades.
Children, guests, students and golfers with different skill levels may create different containment needs. Read our Golf Simulator Enclosure Safety & Ball Containment guide for more planning detail.
When Building a Larger Room or Studio
The Wall-to-Wall Studio Series™ offers 16-, 18- and 20-foot widths with 5- or 8-foot depth options. Its surrounding materials and interior netting create a different installation approach from simply choosing a deeper residential enclosure.
For teaching or commercial use, compare the enclosure with the complete room layout, including instructor space, spectators, customer movement and access to equipment.
Explore Commercial Golf Simulator Enclosures: Planning the Right Setup or Home Golf Simulator Enclosures: How to Plan the Right Setup, depending on your installation.
Compare What Is Included With Each Enclosure Kit
Every America’s Golf Mats enclosure kit includes a premium golf impact screen. The surrounding materials, protective components and frame requirements vary by enclosure series and configuration.
Before comparing prices, check:
- The included screen and available screen upgrades.
- Top and side materials, netting and protective components.
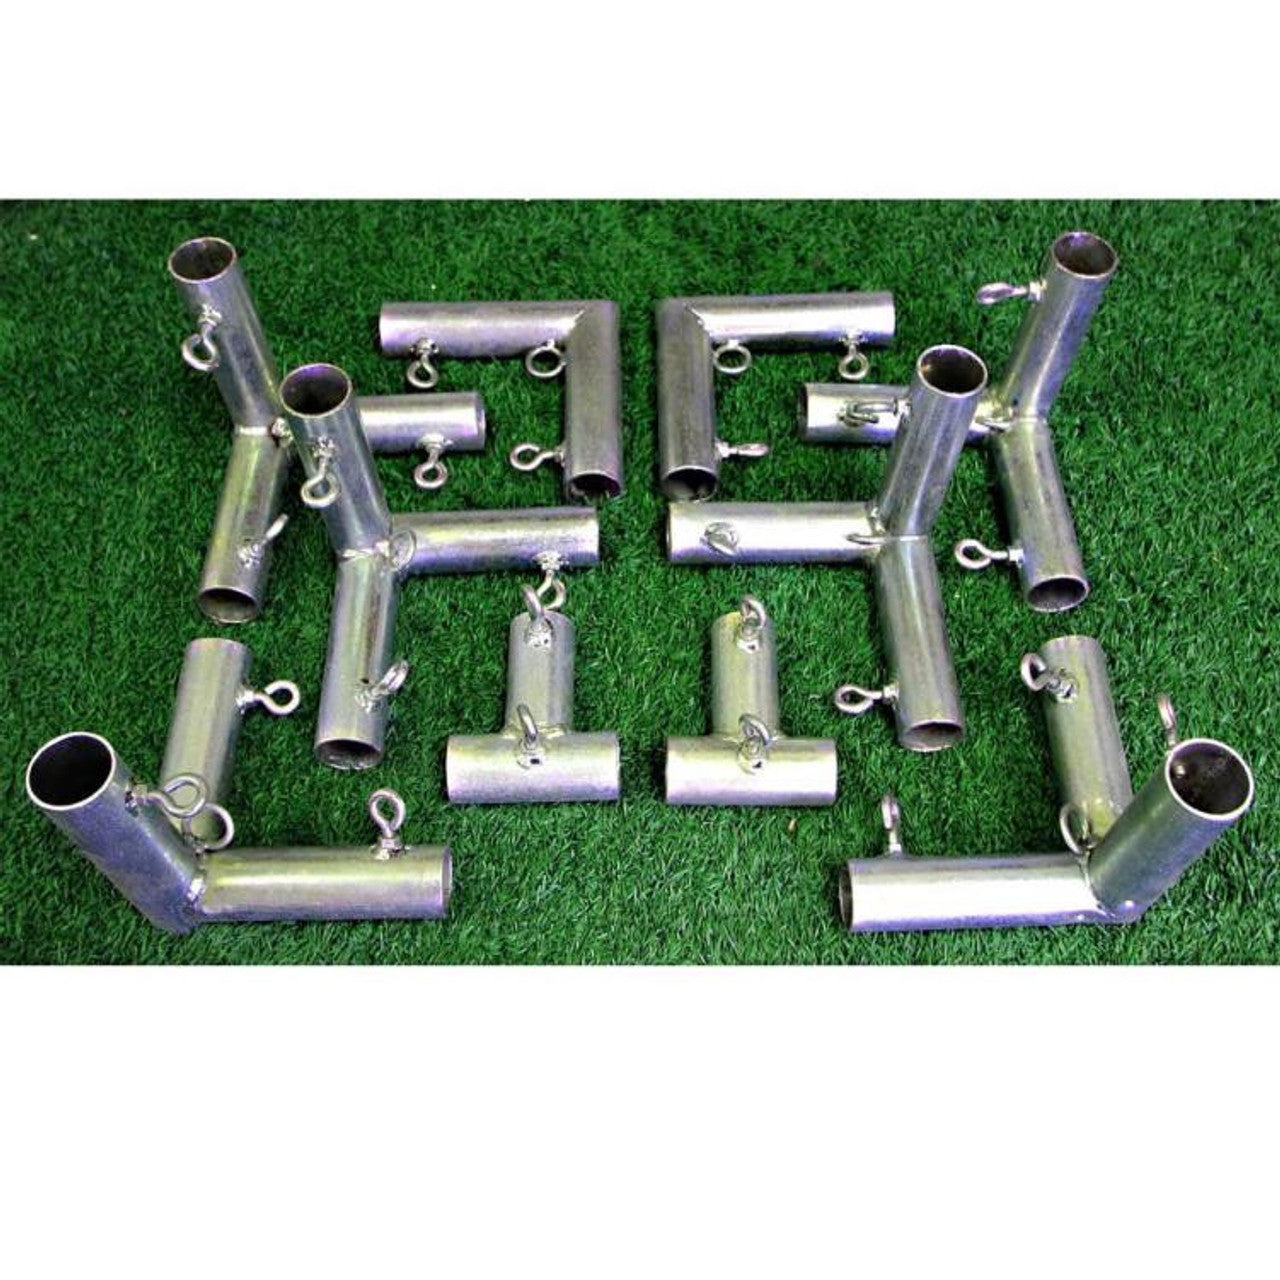
- Frame connectors, hardware and attachment components.
- Frame-pole requirements and the selected pole option.
- Optional accessories needed for your particular room.
Frame poles are sold separately. Projectors are not included, and golf mats are sold separately. Plan your launch monitor, computer or compatible device and simulator software as part of the complete system.
Compare Local EMT Poles and Pre-Cut Frame Options
For models that use 1-inch EMT, you can purchase poles locally from Home Depot, Lowe’s or your local hardware store and cut them using the selected model’s cut chart. This can avoid shipping long poles, but it requires suitable tools and careful measuring and cutting.
An available pre-cut EMT pole kit offers a more convenient option if you prefer not to source and cut the poles yourself. Compare the cost of each option before ordering.
For applicable Wall-to-Wall Studio Series™ pre-cut frame configurations, confirm the SkyBridge™ Span Brackets and rigid steel Unistrut channel requirements. Follow the specific model’s frame instructions rather than assuming all enclosure designs use the same frame.
For assembly planning, read DIY Golf Simulator Enclosure: How to Build Your Own.
Compare Screen and Projection Requirements
The included impact screen receives golf-ball strikes and displays the projected simulator image. When comparing enclosure configurations, check the screen’s construction, usable projection area, attachment method and required clearance behind it.
Screen Size vs. Viewable White Area
Our impact screens have a 2-inch black border on all four sides. The viewable white projection area is therefore 4 inches narrower and 4 inches shorter than the overall screen dimensions.
Use the viewable white-screen dimensions when planning your projected image. Do not subtract the border from the enclosure dimensions. Check the selected model’s actual screen specifications to match your projector and desired 4:3 or 16:9 image to the available white area.
Confirm Equipment Compatibility Before Choosing Your Enclosure
Check the current installation requirements for your exact launch-monitor model. Its position and tracking requirements may affect which enclosure configurations work in your room.
Confirm that your projector can produce the planned image from an appropriate mounting location without interfering with the golfer. Account for room lighting, possible shadows and overhead obstructions.
Plan the golf mat and ball position at the same time. For hard floors, consider hitting-surface construction and shock absorption. ProStrike Zero Shock™ simulator mats and ProStrike FLEX™ larger turf sizes and rolls offer different options for the hitting area.
Compare the Complete Cost
America’s Golf Mats offers factory-direct enclosure pricing. To compare value, look at the configuration you will actually buy, including frame poles, selected upgrades and any separately purchased equipment.
A lower advertised enclosure price does not necessarily mean a lower completed-project cost. Compare equivalent components and the final delivered price.
For budgeting advice, read How to Save Money Building a Golf Simulator Enclosure.
Before You Choose: Your Enclosure Comparison Checklist
- Confirm the room and swing measurements using the size guide.
- Choose the footprint and surrounding coverage appropriate for the room and users.
- Compare included components and optional upgrades.
- Check screen viewing area and equipment compatibility.
- Choose your frame-pole option and confirm model-specific requirements.
- Compare the complete configuration and delivered cost.
Ask SARA — America’s Golf Simulator Enclosure Expert™
If Two Enclosures Fit My Room, How Do I Choose Between Them?
Compare what the additional features do for your setup. You may value a smaller footprint, more surrounding coverage, added protective components or the installation approach of a larger studio enclosure. Choose the features that address your room and users, then compare the complete cost of those configurations.
Reviewed by David Quail — America’s Golf Mats
Golf products industry experience since 1997.
Golf simulator enclosure manufacturing experience dating to 2010.
