





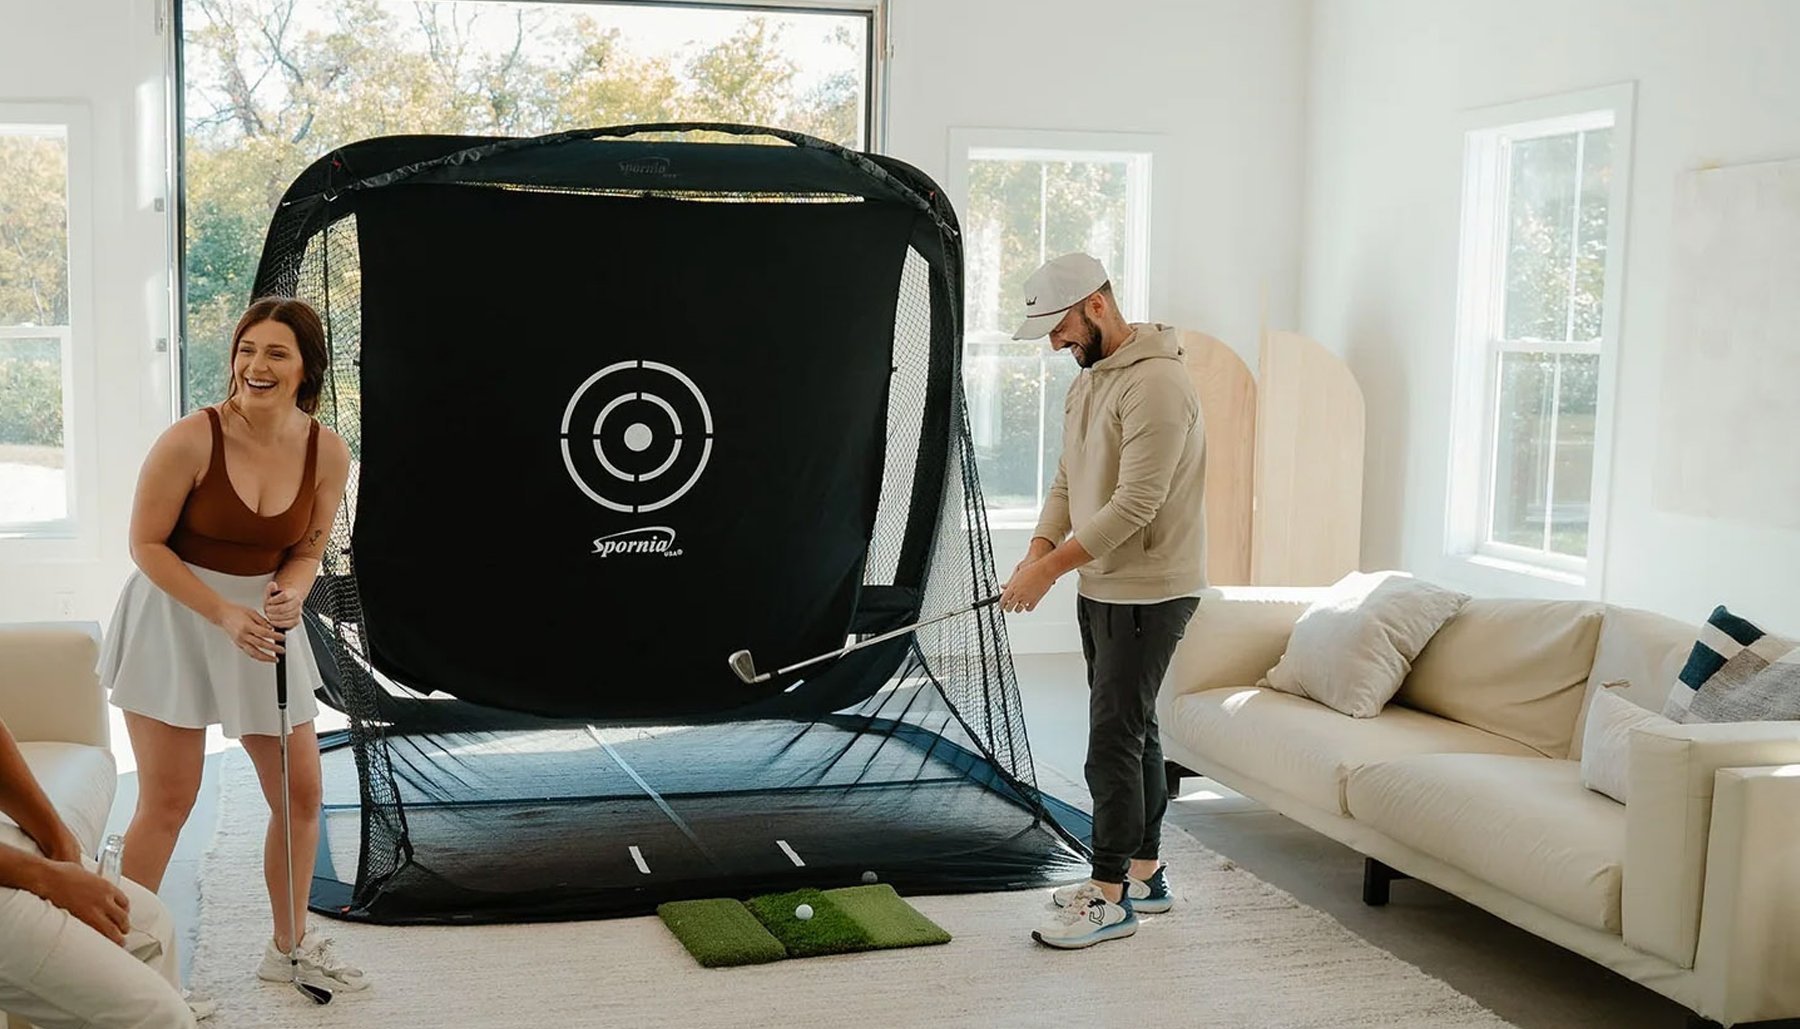
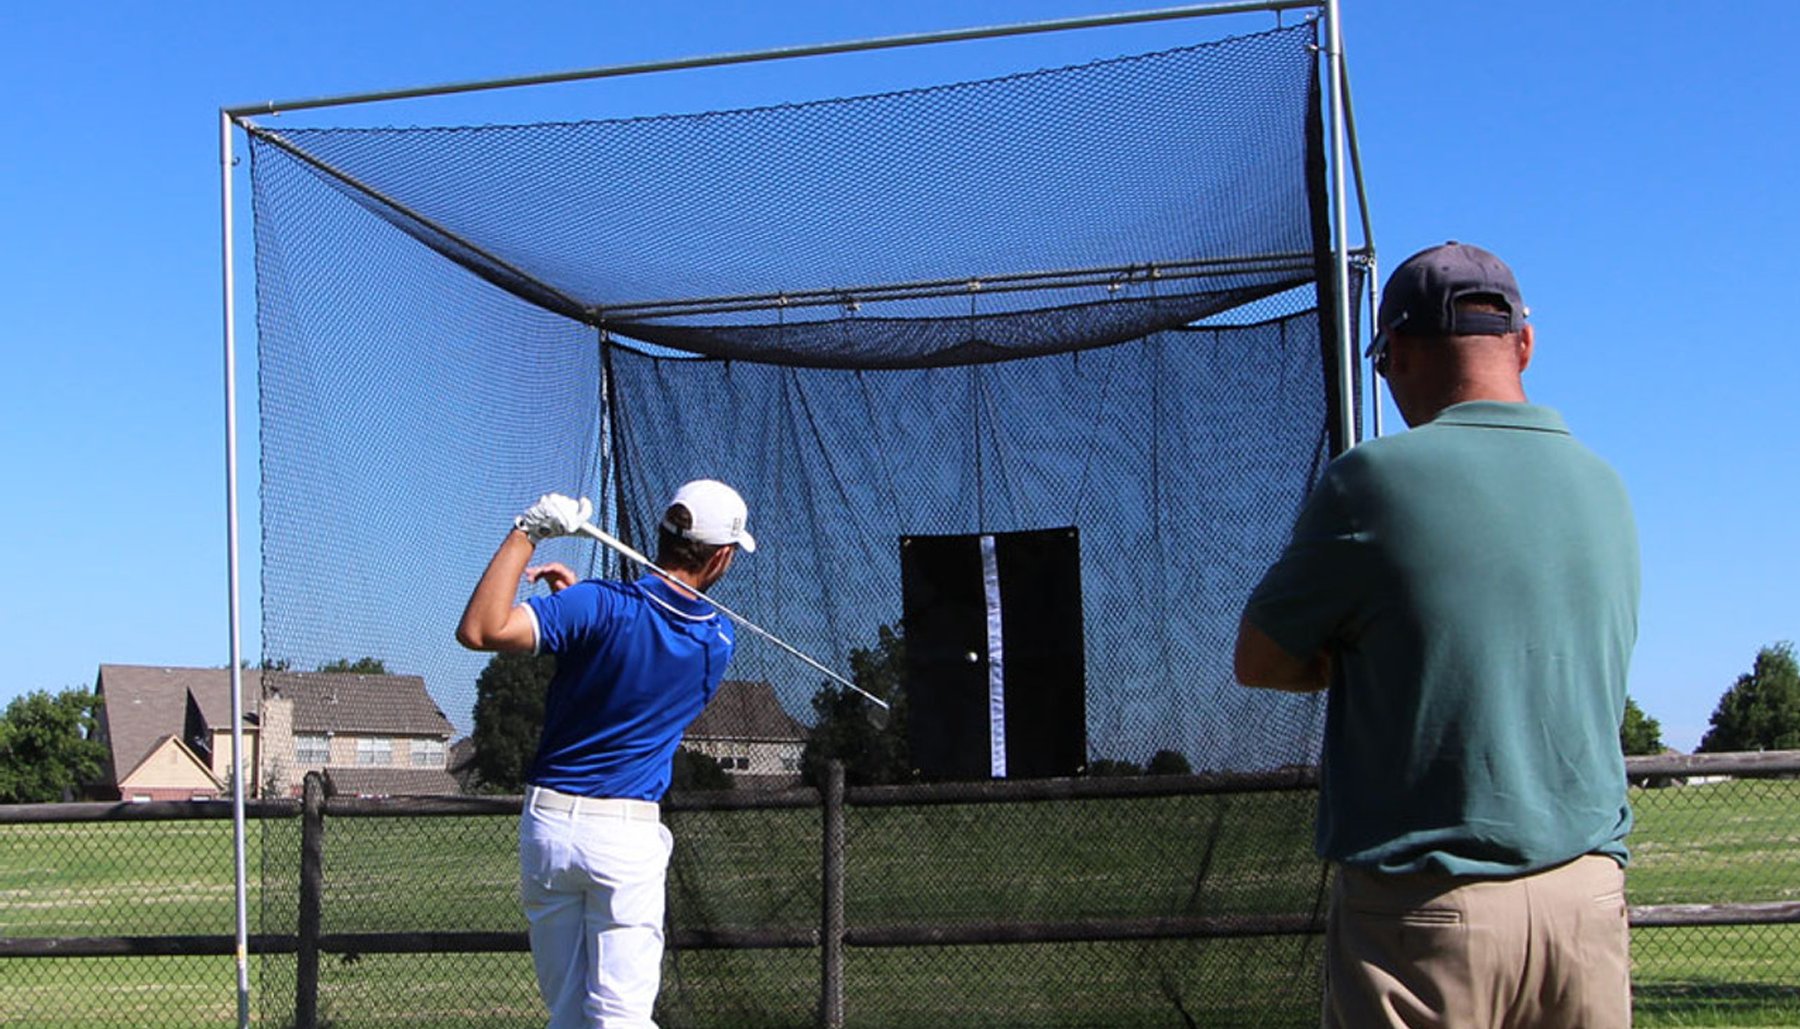

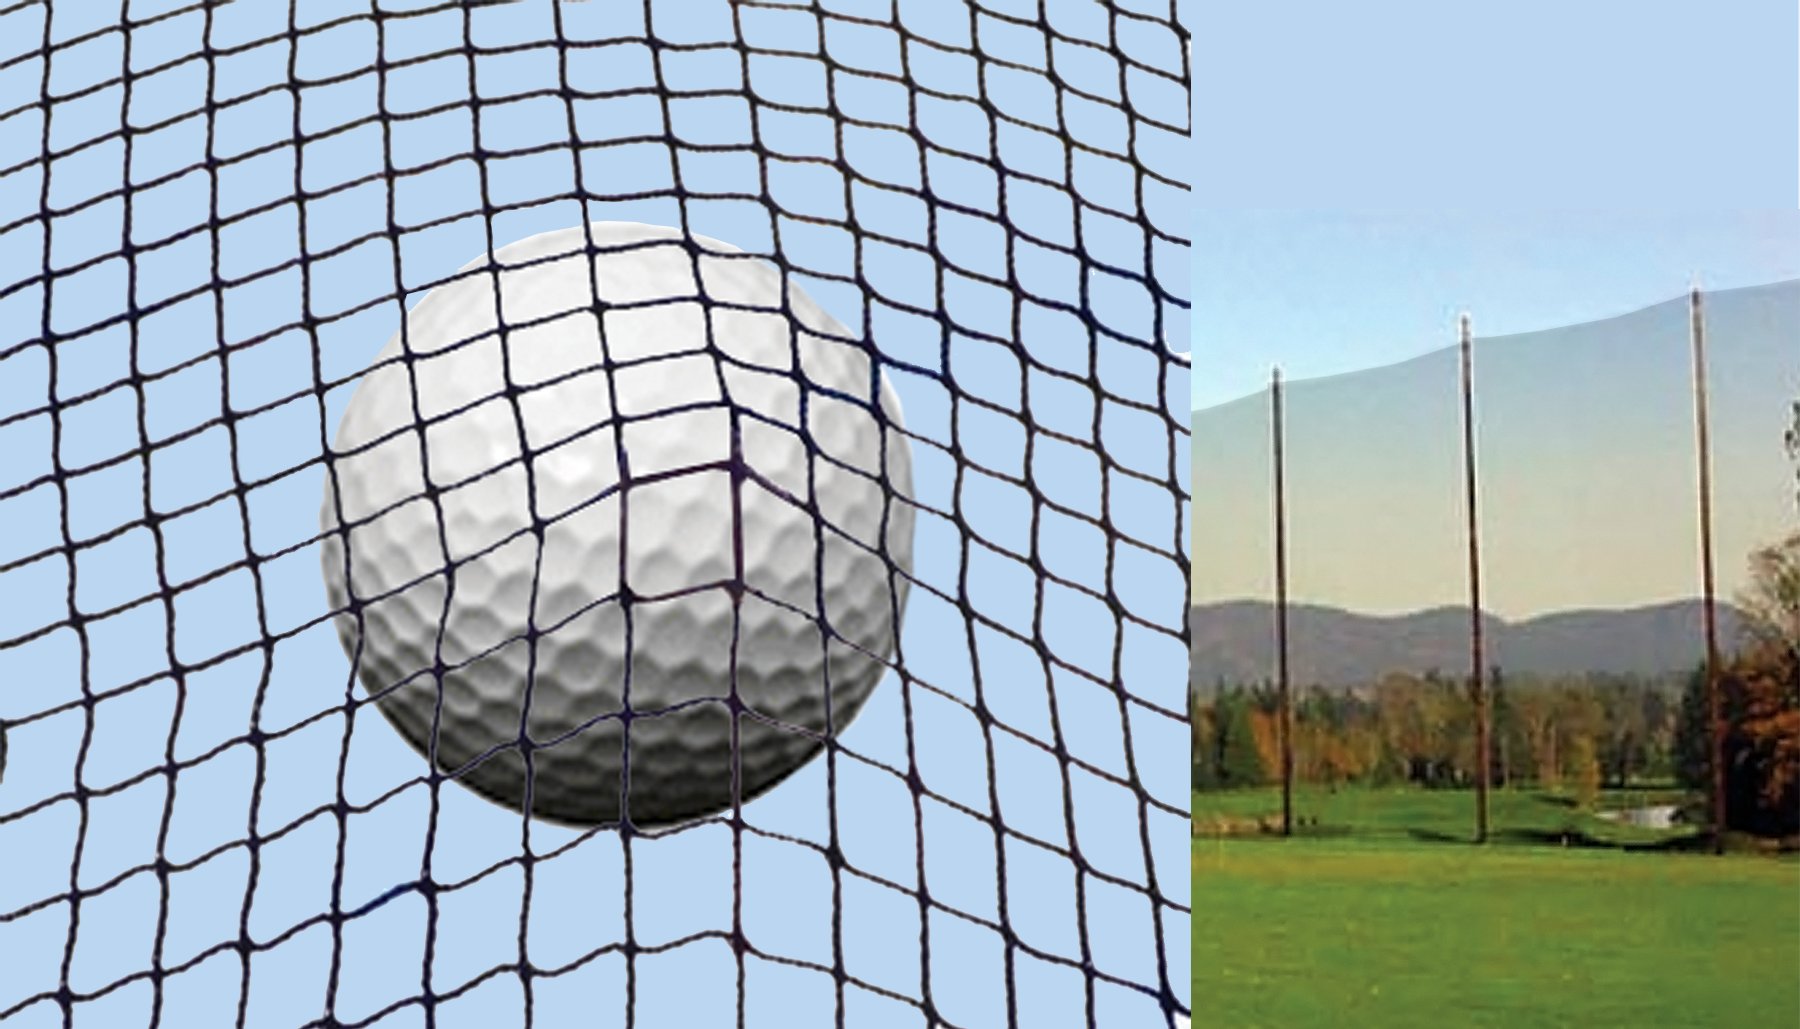

Building a golf simulator doesn't have to mean buying the most expensive enclosure, projector, launch monitor and accessories available.
One of the best ways to control the cost is to plan the entire simulator before you start buying components.
Your room dimensions, enclosure size, frame poles, impact screen, golf mat, projector and launch monitor all affect the final cost.
Buying equipment before you know exactly what your room requires can lead to unnecessary expenses — or buying something twice.
Measure first. Buy what your room actually needs. Spend more where it matters and save where it doesn't.
Start With a Simulator Budget
Before choosing individual components, decide what you want to spend on the complete simulator.
Your budget may need to include:
- Golf simulator enclosure
- Impact screen
- Frame poles
- Golf mat
- Launch monitor
- Projector
- Computer or compatible device
- Simulator software
- Protective accessories
- Lighting
- Installation materials
Looking at the entire project makes it easier to decide where spending more provides value and where you may be able to save.
Measure Before You Buy Anything
One of the easiest ways to waste money is buying equipment that doesn't fit your room.
Before ordering your enclosure or other major components, measure:
- Ceiling height
- Room width
- Total room depth
- Doors
- Windows
- Beams
- Lights
- Ductwork
- Garage-door tracks
- Garage-door opener
- Cabinets
- Other permanent obstacles
Then test your actual golf swing from the planned hitting position.
Don't Buy a Larger Enclosure Than Your Room Needs
A larger enclosure isn't automatically a better enclosure.
If a smaller enclosure fits your room, golfer and equipment properly, paying for additional size may not provide a meaningful benefit.
Choose the enclosure based on:
- Available room dimensions
- Golfer's swing
- Hitting position
- Desired screen size
- Ball-containment needs
- Projector
- Launch monitor
The goal is to buy the enclosure that works for the room —
not simply the largest one you can fit through the door.
Choose an Enclosure Depth
That Works With Your Room
Enclosure depth can have a major effect on the design and footprint of the simulator.
America's Golf Mats offers four enclosure families with depths ranging from 2 feet to 8 feet.
America's Compact™
If conserving room depth is important, America's Compact™ may allow you to build a simulator without paying for a deeper enclosure your room doesn't require.
AVAILABLE SIZES
America's Choice™
America's Choice™ provides a 5-foot enclosure depth for home, garage, basement and dedicated simulator rooms.
AVAILABLE SIZES
America's SafetyMax™
If additional golf-ball containment and protection are important to your installation, America's SafetyMax™ provides a 6-foot enclosure depth with additional safety-focused features.
AVAILABLE SIZES
America's Wall-to-Wall Studio Series™
For larger home simulator rooms, teaching studios and commercial installations, America's Wall-to-Wall Studio Series™ provides widths up to 20 feet with 5- and 8-foot depth options.
AVAILABLE SIZES
Buy Factory Direct When It Makes Sense
Another way to control your golf simulator enclosure budget is to reduce unnecessary layers between the manufacturer and customer.
America's Golf Mats offers golf simulator enclosures at factory-direct pricing.
Why Pay More?
Compare the complete enclosure configuration, what is included and the final delivered price before making your decision.
Compare What Is Included —
Not Just the Advertised Price
Two golf simulator enclosures with similar dimensions may not include the same components.
Before comparing prices, determine whether the configuration includes:
- Impact screen
- Side material
- Top material
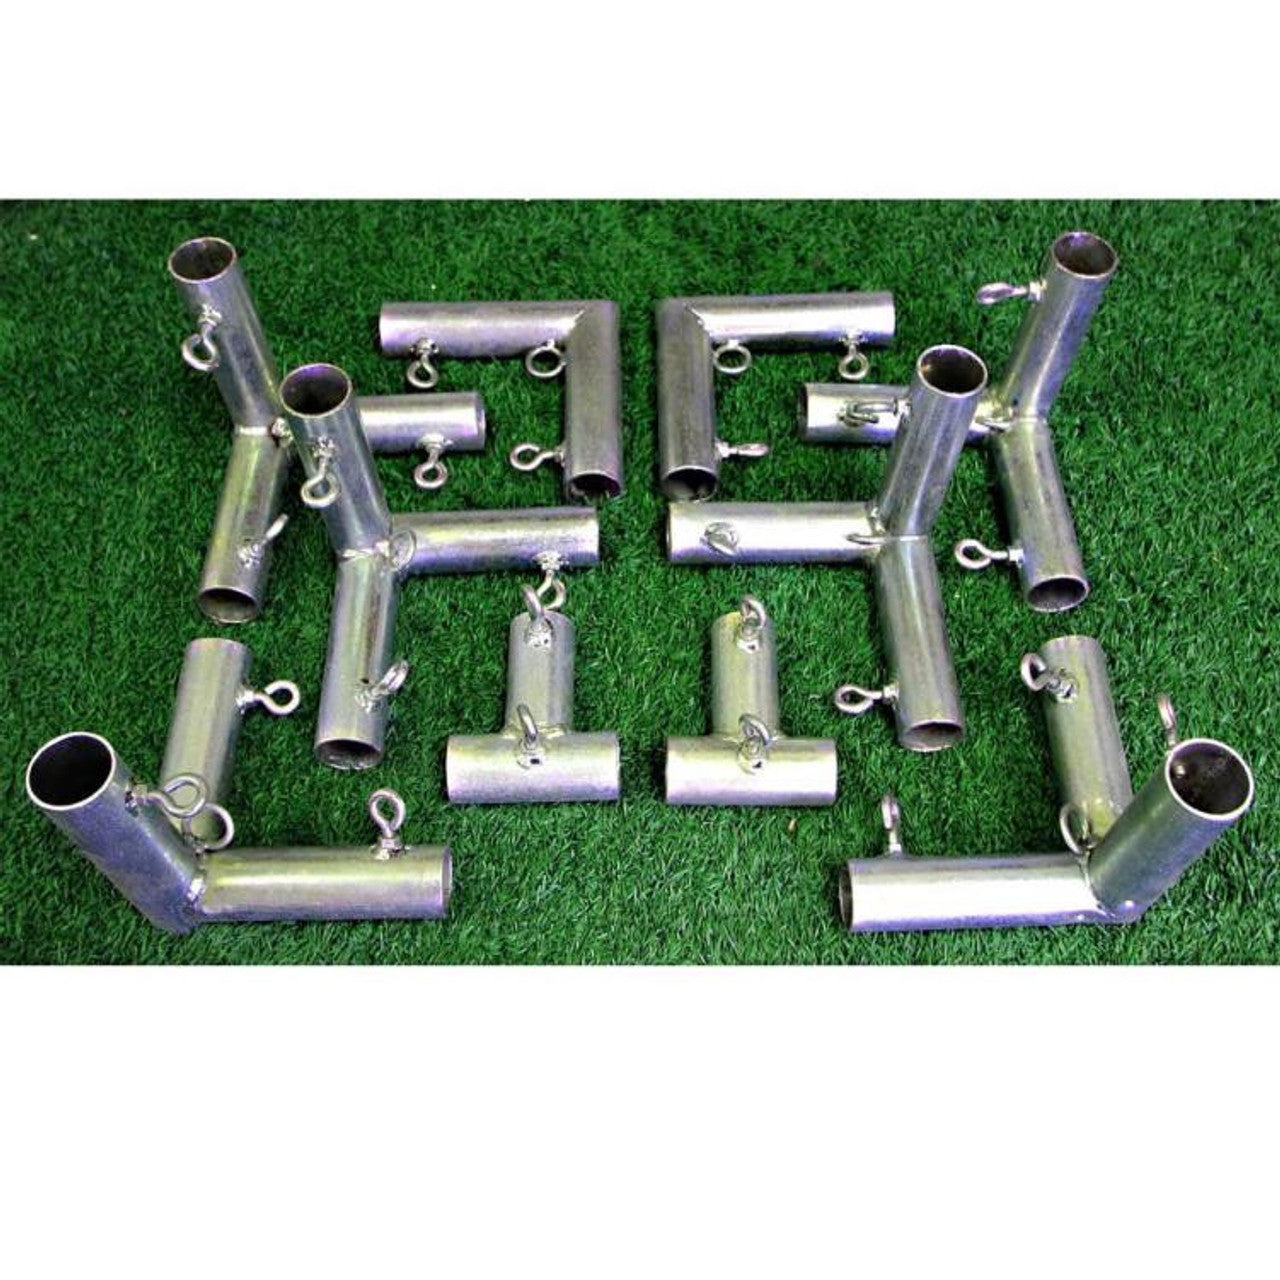
- Frame connectors
- Protective components
- Baffle net
- Frame poles
- Other required enclosure components
A lower advertised price can become more expensive if several necessary components still need to be purchased separately.
Compare similarly configured enclosures, not just the number shown at the top of a product page.
Consider Buying EMT Frame Poles Locally
Frame poles can be long and expensive to ship.
For applicable America's Golf Mats enclosure systems, customers can purchase 1-inch EMT poles locally.
EMT is commonly available through home-improvement and electrical-supply retailers.
Buying frame poles locally can reduce shipping expense and may lower the total cost of the enclosure.
If you're comfortable measuring and cutting the poles yourself, this can be one of the simplest ways to save on a DIY simulator project.
Pre-Cut Frame Poles Are Another Option
Not every golfer wants to measure and cut frame poles.
Pre-cut EMT pole kits are available for customers who prefer a more convenient frame option.
Want to save more?
Source the applicable EMT poles locally.
Want more convenience?
Choose the available pre-cut pole kit.
The right option depends on your budget, tools and comfort with DIY assembly.
Build It Yourself
Labor can add significantly to the cost of many home projects.
Golf simulator enclosure kits can allow homeowners to handle more of the installation themselves.
A DIY installation may be a good fit if you're comfortable:
- Measuring
- Following assembly instructions
- Cutting EMT when applicable
- Assembling a frame
- Installing enclosure components
- Planning the simulator layout
Don't attempt work outside your experience, particularly electrical, structural or other work that may require a qualified professional.
Don't Overspend on Features Your Room Doesn't Need
Simulator equipment can become expensive quickly when every available feature is added.
Before adding an upgrade, ask: Does my room or simulator actually need this?
For example, a golfer building in a small dedicated room may have different containment requirements from a family simulator used by children and guests.
A commercial teaching studio may have different needs from a simulator used by one golfer at home.
Buy features because they solve a problem in your installation — not simply because they're available.
Don't Underspend on Ball Containment
Saving money doesn't mean removing protection your room needs.
Windows, televisions, lights, electronics, vehicles and people can all be exposed to mishit golf balls.
Consider:
- Enclosure depth
- Side coverage
- Overhead coverage
- Hitting position
- Golfer skill levels
- Who will use the simulator
The least expensive enclosure configuration isn't a bargain if it doesn't provide the containment appropriate for your room.
Don't Overspend on a Projector Before Planning the Screen
Projector prices vary considerably.
Before buying one, determine:
- Impact-screen dimensions
- Desired image size
- Aspect ratio
- Throw distance
- Mounting position
- Room lighting
Buying a projector first can limit your enclosure choices or leave you paying for projector capabilities your room doesn't require.
Plan the enclosure and screen first, then select a projector that works with them.
Control Ambient Light Before Buying More Projector
If your projected image appears washed out, the first solution isn't always a more expensive projector.
Look at the room.
Sunlight, windows, overhead lights and open garage doors can significantly affect the projected image.
Controlling unnecessary light around the screen may improve the simulator image without replacing the projector.
Choose the Right Impact Screen
The impact screen isn't an area where you want to buy something simply because it's inexpensive.
It needs to handle golf-ball impacts and provide the projection surface for the simulator.
Consider:
- Screen durability
- Image quality
- Screen dimensions
- Installation
- Expected use
- Home versus commercial application
An enclosure that includes a compatible impact screen can simplify the buying process and help avoid purchasing mismatched components.
Choose the Right Golf Mat
The golf mat is another place where buying only on price can be misleading.
The mat is the hitting surface you use on every shot.
If the simulator is installed over concrete or another hard floor, consider the construction and shock absorption beneath the turf.
America's Golf Mats offers ProStrike Zero Shock™ simulator mats with a 1-inch turf surface and 5/8-inch base pad for a total thickness of 1⅝ inches.
For golfers wanting a larger continuous turf area, ProStrike FLEX™ provides larger sizes and roll options without the additional 5/8-inch base pad.
Spend Based on How Often You'll Use the Simulator
A golfer using a simulator several times each week may prioritize components differently from someone who expects occasional recreational use.
Commercial facilities may require equipment designed for much heavier traffic.
Think about:
- Number of golfers
- Frequency of use
- Number of shots
- Residential versus commercial use
- Expected years of use
Your budget should reflect how the simulator will actually be used.
Build in Stages When Appropriate
You don't necessarily need every optional feature on the first day.
Depending on your setup, you may be able to begin with the essential simulator components and add certain upgrades later.
A basic simulator plan generally starts with the components necessary to:
- Create the hitting area
- Contain golf balls appropriately
- Provide an impact screen
- Provide a hitting surface
- Track the golf shot
- Display the simulator image
Additional room finishes and accessories can sometimes be added later.
Save Money. Play Sooner.
Start with the components your simulator needs to function safely and properly. Add optional room finishes and accessories later when appropriate.
Avoid Buying Components Twice
One of the most expensive mistakes in a simulator project is buying something that later needs to be replaced because it doesn't work with another component.
Examples include:
- Enclosure doesn't fit the room
- Projector doesn't work with the screen size
- Launch monitor requires more room
- Golf mat doesn't fit the hitting position
- Screen dimensions don't match the desired image
- Frame materials don't match the enclosure
Planning the complete simulator before ordering helps reduce this risk.
Golf Simulator Money-Saving Checklist
Before spending money, ask:
- Have I measured the complete room?
- Have I tested my actual golf swing?
- Am I buying the enclosure size my room actually needs?
- Have I compared what is included with each enclosure?
- Can I purchase applicable EMT frame poles locally?
- Am I comfortable with DIY installation?
- Am I paying for features my room doesn't need?
- Am I providing enough ball containment for my room?
- Have I planned the impact screen before buying the projector?
- Can I improve ambient-light control before spending more on projector brightness?
- Have I chosen the golf mat based on the floor and how often I'll practice?
- Does my launch monitor work within the available room?
- Can optional upgrades be added later?
- Have I planned the complete simulator so I don't buy components twice?
Where Should You Spend and Where Can You Save?
A good simulator budget isn't about buying the cheapest component in every category.
Spend where the equipment directly affects your simulator's fit, function, hitting surface, ball containment and performance.
Look for savings where they don't compromise what your room actually needs.
That might mean:
- Choosing the enclosure size that fits instead of automatically going larger
- Buying EMT frame poles locally
- Installing the enclosure yourself
- Controlling room lighting before upgrading the projector
- Adding optional upgrades later
- Buying factory direct
Build the simulator you need without paying for the simulator you don't.
Ask SARA
America's Golf Simulator Enclosure Expert™
The best way to save money building a golf simulator is to plan the complete system before you start buying individual components.
Measure first. Buy what your room actually needs.
Spend more where it matters and save where it doesn't.
Buying factory direct, sourcing applicable EMT poles locally, handling DIY installation and adding optional upgrades later can all help control the total cost.
Explore the Golf Simulator Enclosure Learning Center →
Reviewed by David Quail — America's Golf Mats
Golf products industry experience since 1997.
Golf simulator enclosure manufacturing experience dating to 2010.
Meet David Quail - Golf Simulator Enclosure Expert →
