




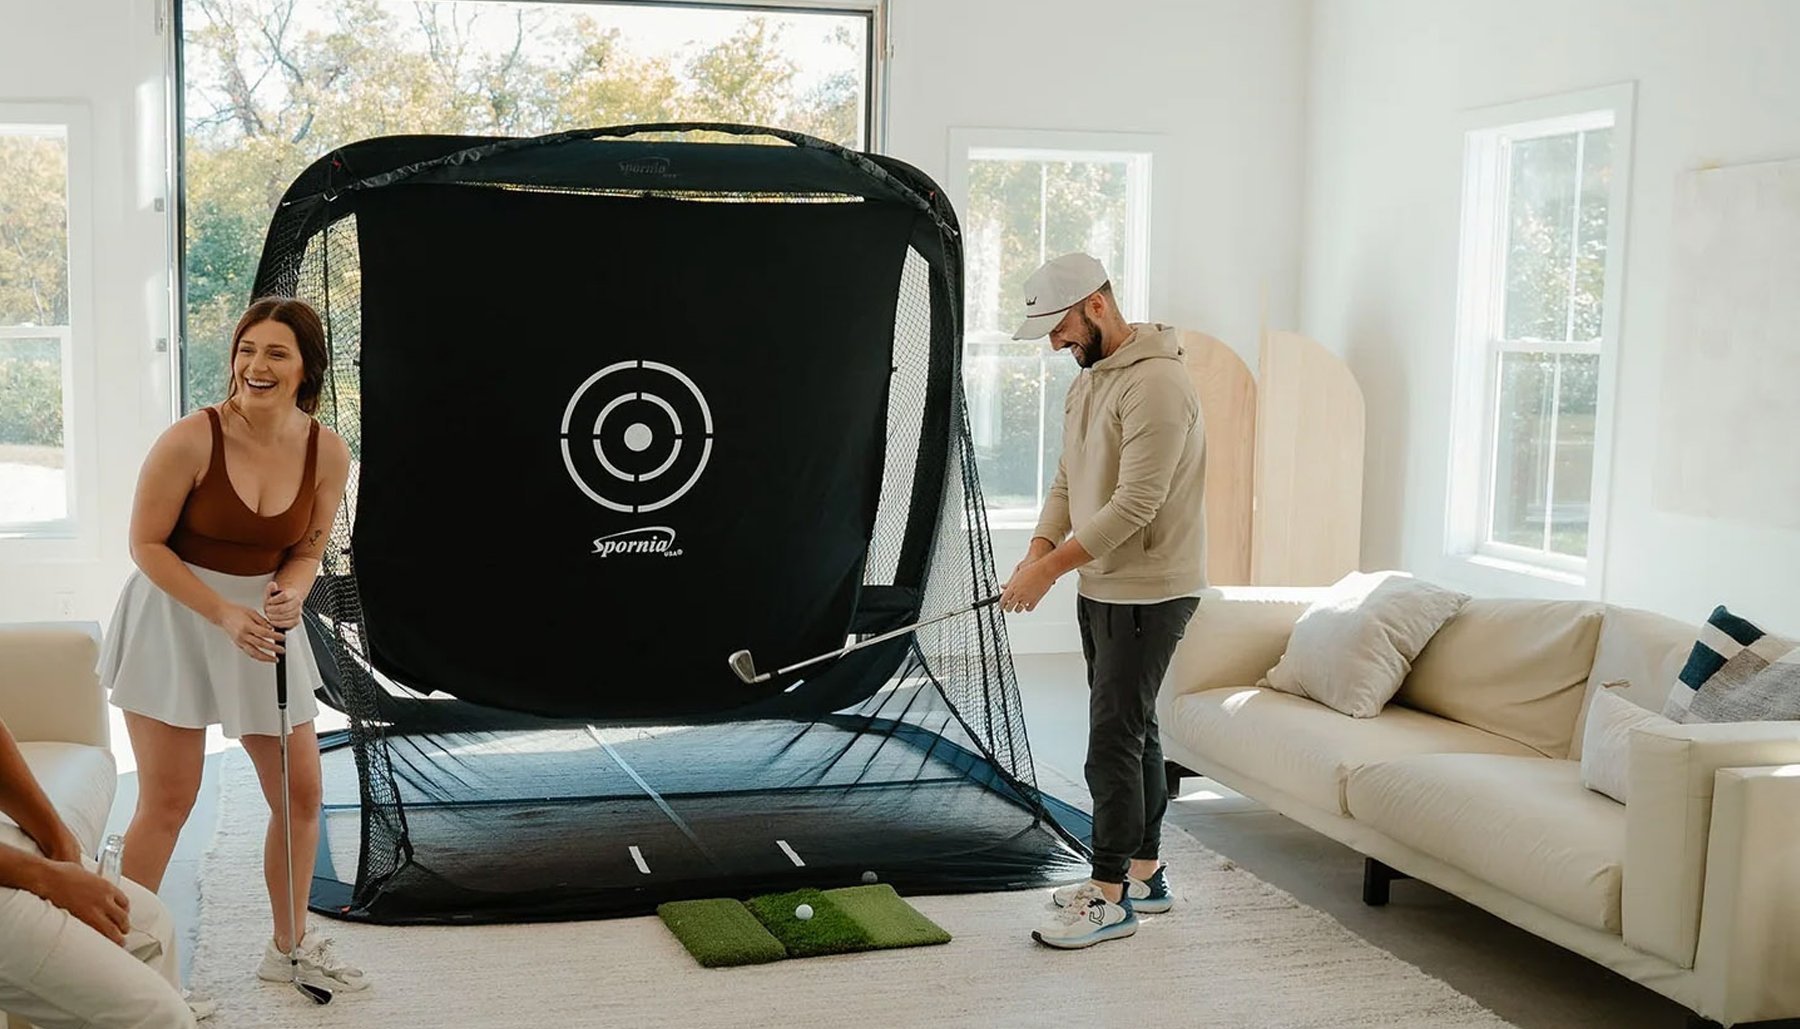
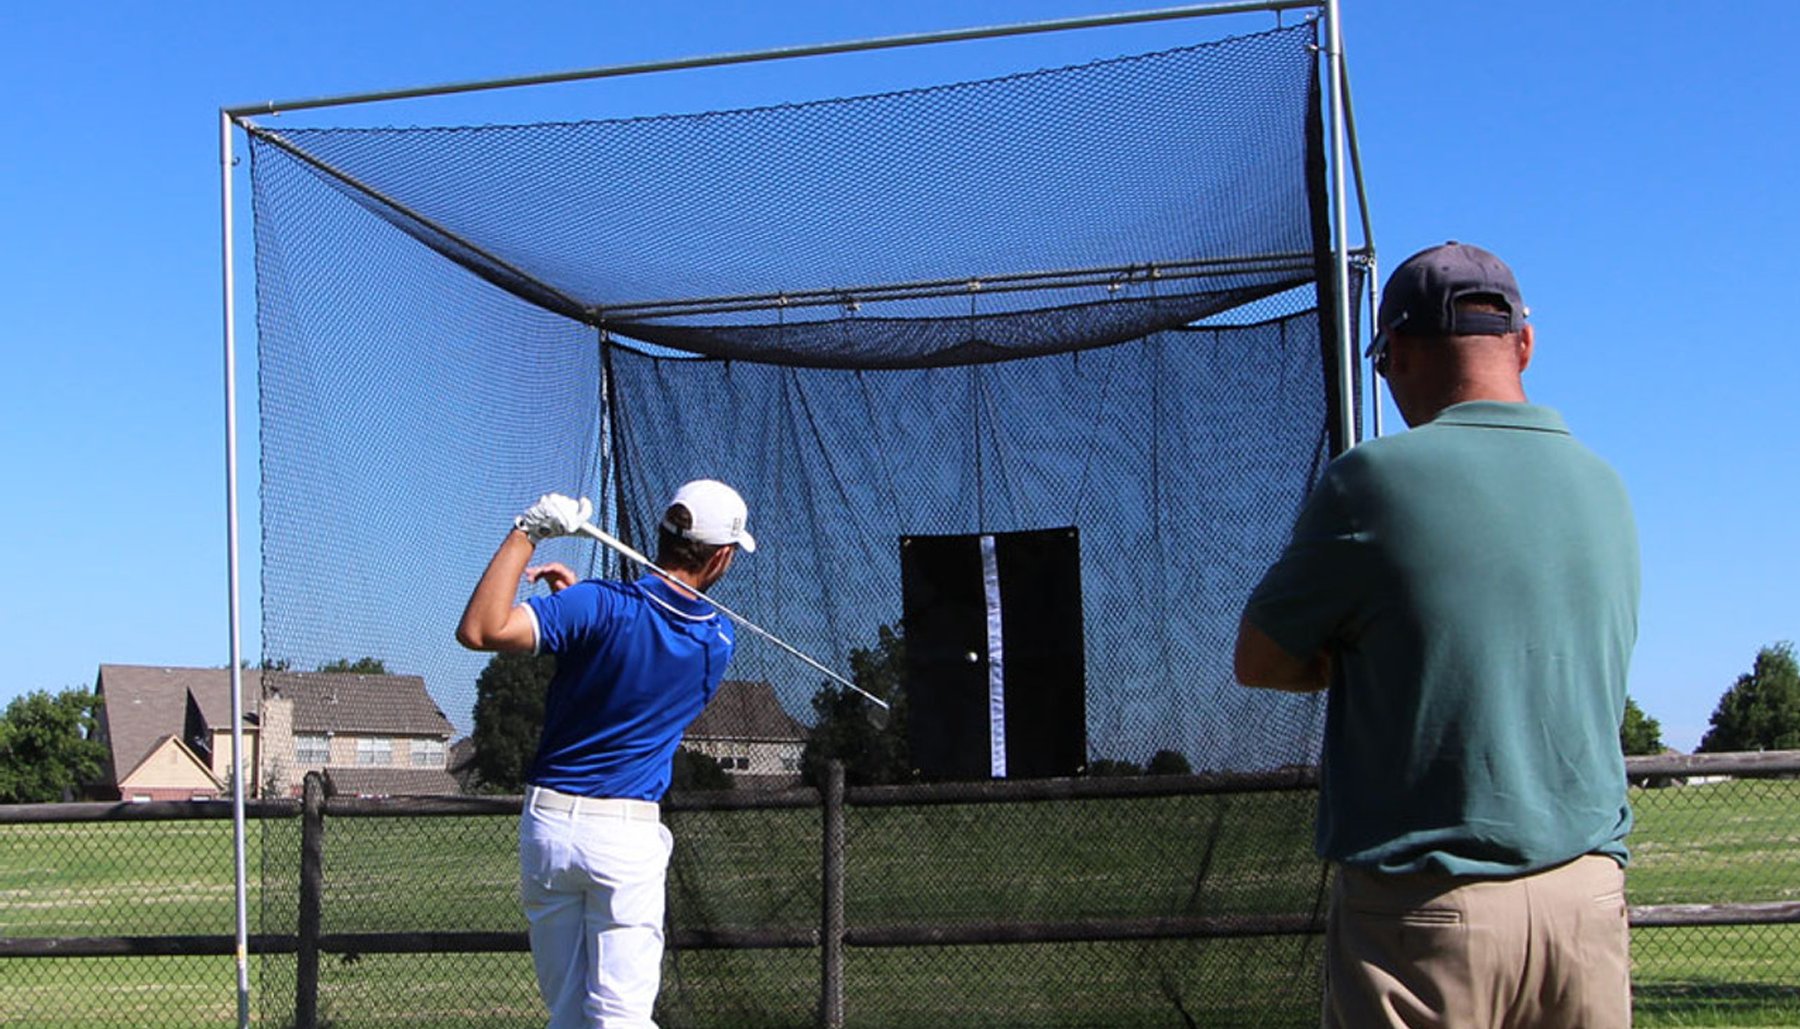

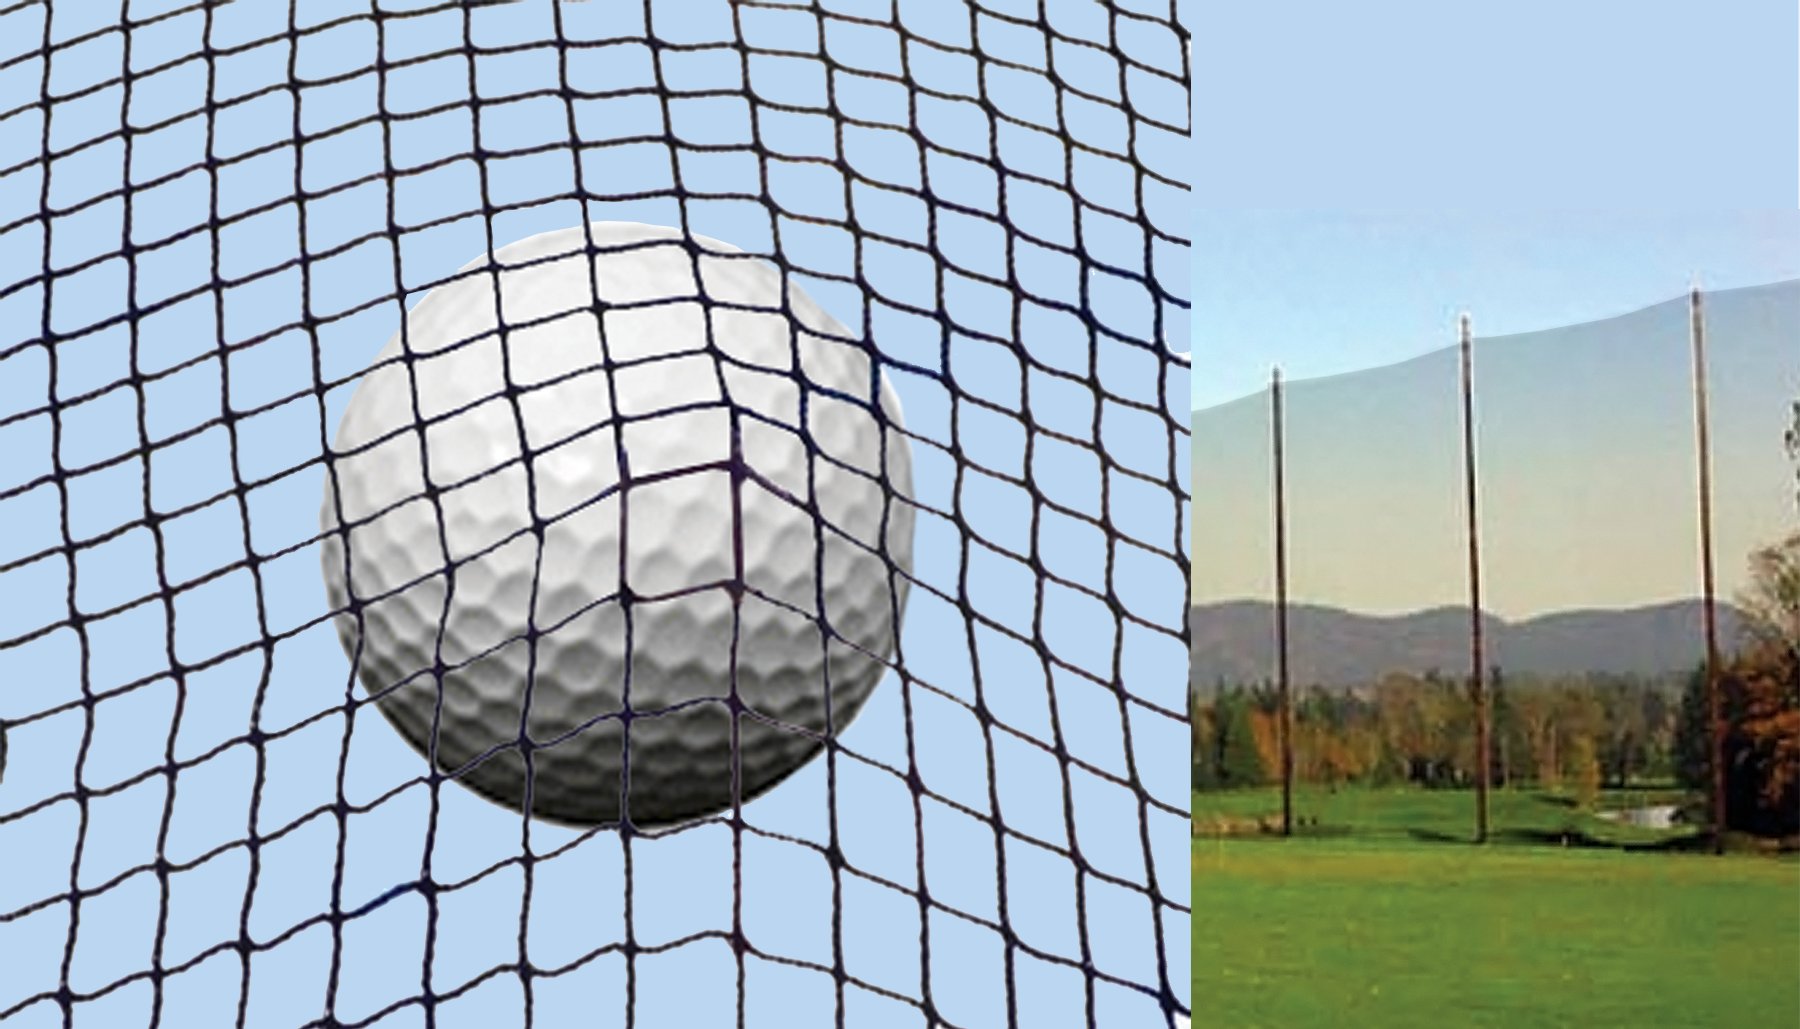

A golf simulator impact screen has two important jobs.
It needs to handle repeated golf-ball impacts and provide a good surface for the projected simulator image.
That means choosing an impact screen isn't simply about finding a piece of material that will stop a golf ball.
Screen size, durability, image quality, installation, tension, enclosure design, projector, room lighting and the space behind the screen can all affect the finished simulator.
Choose the enclosure and impact screen as one system — not as two separate parts.
What Is a Golf Simulator Impact Screen?
A golf simulator impact screen is a specialized screen designed to receive golf-ball impacts while also displaying the image from your simulator projector.
During normal use, the golf ball strikes the screen while the projector displays the golf course, driving range or simulator software on the same surface.
This is different from an ordinary projector screen.
A golf simulator impact screen needs to withstand repeated ball strikes while maintaining a usable projection surface.
What Should You Look for in an Impact Screen?
When comparing golf simulator impact screens, consider:
- Durability
- Image quality
- Screen dimensions
- Material construction
- Installation method
- Screen tension
- Space behind the screen
- Ball response
- Projector compatibility
- Room lighting
- Expected amount of use
A home golfer practicing occasionally may have different priorities from a golf academy or commercial simulator facility receiving heavy daily use.
Choose the Right Impact Screen Size
The screen needs to fit the enclosure, but screen dimensions also affect the projected image.
Before choosing a screen, determine:
- Available enclosure width
- Available enclosure height
- Projector aspect ratio
- Desired image size
- Projector throw distance
- Room dimensions
A larger screen can create a larger projected image,
but only if the room, enclosure and projector can support it.
Understand Screen Dimensions and Image Format
Impact Screen Width and Height
Impact screens come in different shapes and dimensions because golf simulator rooms are different.
Some rooms have plenty of width but limited ceiling height.
Others have enough height for a taller screen but less available width.
Don't force the room to fit a particular screen size.
Start with the available space and choose an enclosure and screen combination that works within it.
4:3 vs. 16:9 Impact Screens
Two common projected-image formats used in golf simulators are 4:3 and 16:9.
4:3
A 4:3 image is more square in shape.
It can work well in rooms where available height is relatively generous compared with screen width.
16:9
A 16:9 image is wider and is commonly used for widescreen projection.
It can work well with wider golf simulator enclosures and rooms.
Neither format is automatically better.
The right choice depends on the dimensions of your room, impact screen, enclosure and projector.
Plan the Screen and Projector Together
Match the Projector to the Screen
The projector and impact screen need to work together.
Before buying a projector, check:
- Native aspect ratio
- Throw distance
- Image size
- Mounting location
- Brightness requirements
- Screen dimensions
- Room lighting
A projector that works well with one screen size may not be appropriate for another.
Determine your desired image dimensions and then confirm that the projector can produce that image from the available mounting location.
Impact Screen Image Quality
Golfers naturally want a clear simulator image.
But image quality isn't determined by the impact screen alone.
It can also be affected by:
- Projector resolution
- Projector brightness
- Screen material
- Screen condition
- Screen tension
- Room lighting
- Ambient light
- Image size
- Projector focus
- Viewing distance
Think of the impact screen and projector as part of the same projection system.
Screen Color and Projected Image
Impact-screen color can affect how the projected image appears.
White screens are commonly used because they provide a bright, neutral projection surface.
Gray screens can be useful in some environments where ambient-light control and perceived contrast are considerations.
The right choice depends on the room, projector and lighting conditions.
Control Ambient Light Around the Screen
Even a good impact screen and projector can produce a washed-out image if too much uncontrolled light reaches the screen.
Consider:
- Windows
- Overhead lights
- Light behind the golfer
- Light directly hitting the screen
- Open garage doors
- Reflective walls and surfaces
Controlling unnecessary light around the screen can improve the projected image.
Protect the Screen From Premature Wear
Impact screens are designed to take golf-ball strikes, but they are still wear items.
How long a screen lasts can depend on:
- Frequency of use
- Ball speed
- Screen construction
- Installation
- Screen tension
- Golf-ball condition
- Dirt and debris
- Maintenance
- Commercial versus residential use
A commercial simulator receiving hundreds of shots per day may place much greater demands on a screen than a home simulator used several times a week.
Use Clean Golf Balls
Dirty or damaged golf balls can shorten the useful appearance of an impact screen.
Dirt, grass, sand and markings can transfer to the screen during impact.
Before using your simulator, inspect the golf balls and remove balls that are:
- Dirty
- Scuffed
- Cut
- Damaged
- Covered with grass or debris
Keeping both golf balls and clubfaces clean can help keep the screen cleaner.
Don't Use Damaged Golf Balls
A damaged golf ball can have rough or sharp areas that repeatedly strike the impact screen at high speed.
Replace damaged balls rather than continuing to use them indoors.
The same principle applies to clubfaces.
Dirt and debris on a clubface can transfer to the golf ball and eventually to the screen.
Install the Impact Screen Correctly
Screen Tension Is Important
An impact screen needs to be installed correctly.
A screen that is excessively tight may not respond to ball impact as intended.
A screen that is too loose may not provide the desired appearance or projection surface.
Follow the installation instructions for the particular impact screen and enclosure.
Tighter is not automatically better.
Leave Space Behind the Impact Screen
A golf simulator impact screen moves when struck.
The area behind the screen therefore needs to be considered during the room-planning process.
Don't assume the screen can be installed directly against a hard wall.
The required amount of space can vary by screen and enclosure design.
Follow the installation requirements for your particular system and make sure the room has enough total depth.
What Is a Baffle Net?
Some golf simulator enclosure designs use a baffle net behind the impact screen.
A baffle net provides an additional layer behind the primary screen and can be part of the overall ball-management system.
For example, America's SafetyMax™ and Wall-to-Wall Studio Series™ incorporate a baffle net behind the impact screen as part of their enclosure designs.
Consider Ball Containment Around the Screen
The impact screen is only one part of the enclosure.
A golf ball can miss the main screen area or travel toward the sides or top of the simulator.
Consider:
- Side coverage
- Top coverage
- Enclosure depth
- Hitting position
- Screen position
- Surrounding walls
- Windows
- Lighting
- Electronics
- People near the simulator
Choose the impact screen as part of the complete enclosure
rather than treating it as a standalone safety solution.
Match the Screen to the Expected Use
Expected use should be considered when choosing a screen.
Home Golf Simulators
A home simulator may be used by one golfer or a family several times each week.
Image quality, durability, room fit and value may all be important.
Commercial Golf Simulators
A commercial simulator may receive substantially more daily use.
Golf academies, teaching studios, indoor golf facilities and commercial installations should consider screens and enclosure systems designed for repeated use.
Choose the Enclosure and Screen as One System
Should You Choose the Impact Screen Before the Enclosure?
Usually, the enclosure and impact screen should be planned together.
Choosing the screen first without considering the enclosure can create problems with:
- Screen fit
- Frame dimensions
- Aspect ratio
- Projector placement
- Room depth
- Ball containment
Likewise, choosing an enclosure without considering the projected image can leave you with a screen shape that doesn't work well with your projector or room.
Plan the complete simulator before purchasing individual components.
Should You Buy an Enclosure With the Impact Screen Included?
Buying an enclosure with a compatible impact screen can simplify the planning process.
America's Golf Mats golf simulator enclosures include an impact screen designed to work with the enclosure configuration.
This allows you to choose the enclosure based on your room and application without separately trying to match an unrelated screen to the enclosure dimensions.
Maintain and Inspect the Impact Screen
Regular inspection can help you identify wear before it becomes a larger problem.
Periodically check:
- Main impact area
- Screen edges
- Attachment points
- Seams
- Wrinkles
- Stains
- Areas showing unusual wear
Also keep golf balls and clubfaces clean.
Follow the cleaning instructions for the particular screen material before applying cleaners, chemicals or other products.
Golf Simulator Impact Screen Checklist
Before choosing an impact screen, answer these questions:
- What are my available screen dimensions?
- What enclosure size am I using?
- Do I want a 4:3 or 16:9 projected image?
- What projector will I use?
- Can the projector create the desired image from the available location?
- How much ambient light reaches the screen?
- How frequently will the simulator be used?
- Is the simulator residential or commercial?
- How will the screen be installed?
- Is there appropriate space behind the screen?
- What side and overhead containment does the enclosure provide?
- Are the impact screen and enclosure designed to work together?
Choose the Complete Simulator System
The impact screen is important, but it shouldn't be selected in isolation.
Your room dimensions, enclosure, impact screen, projector, golf mat, hitting position and launch monitor all affect the finished simulator.
Planning these components together can prevent expensive changes later.
Ask SARA
America's Golf Simulator Enclosure Expert™
A golf simulator impact screen should be chosen as part of the complete simulator — not as a separate piece of equipment.
Consider the screen size, enclosure, projector, room lighting, screen installation, space behind the screen and expected amount of use.
Choose the enclosure and impact screen as one system.
Explore the Golf Simulator Enclosure Learning Center →
Reviewed by David William Quail — America's Golf Mats
Golf products industry experience since 1997.
Golf simulator enclosure manufacturing experience dating to 2010.
Meet David Quail - Golf Simulator Enclosure Expert →
