




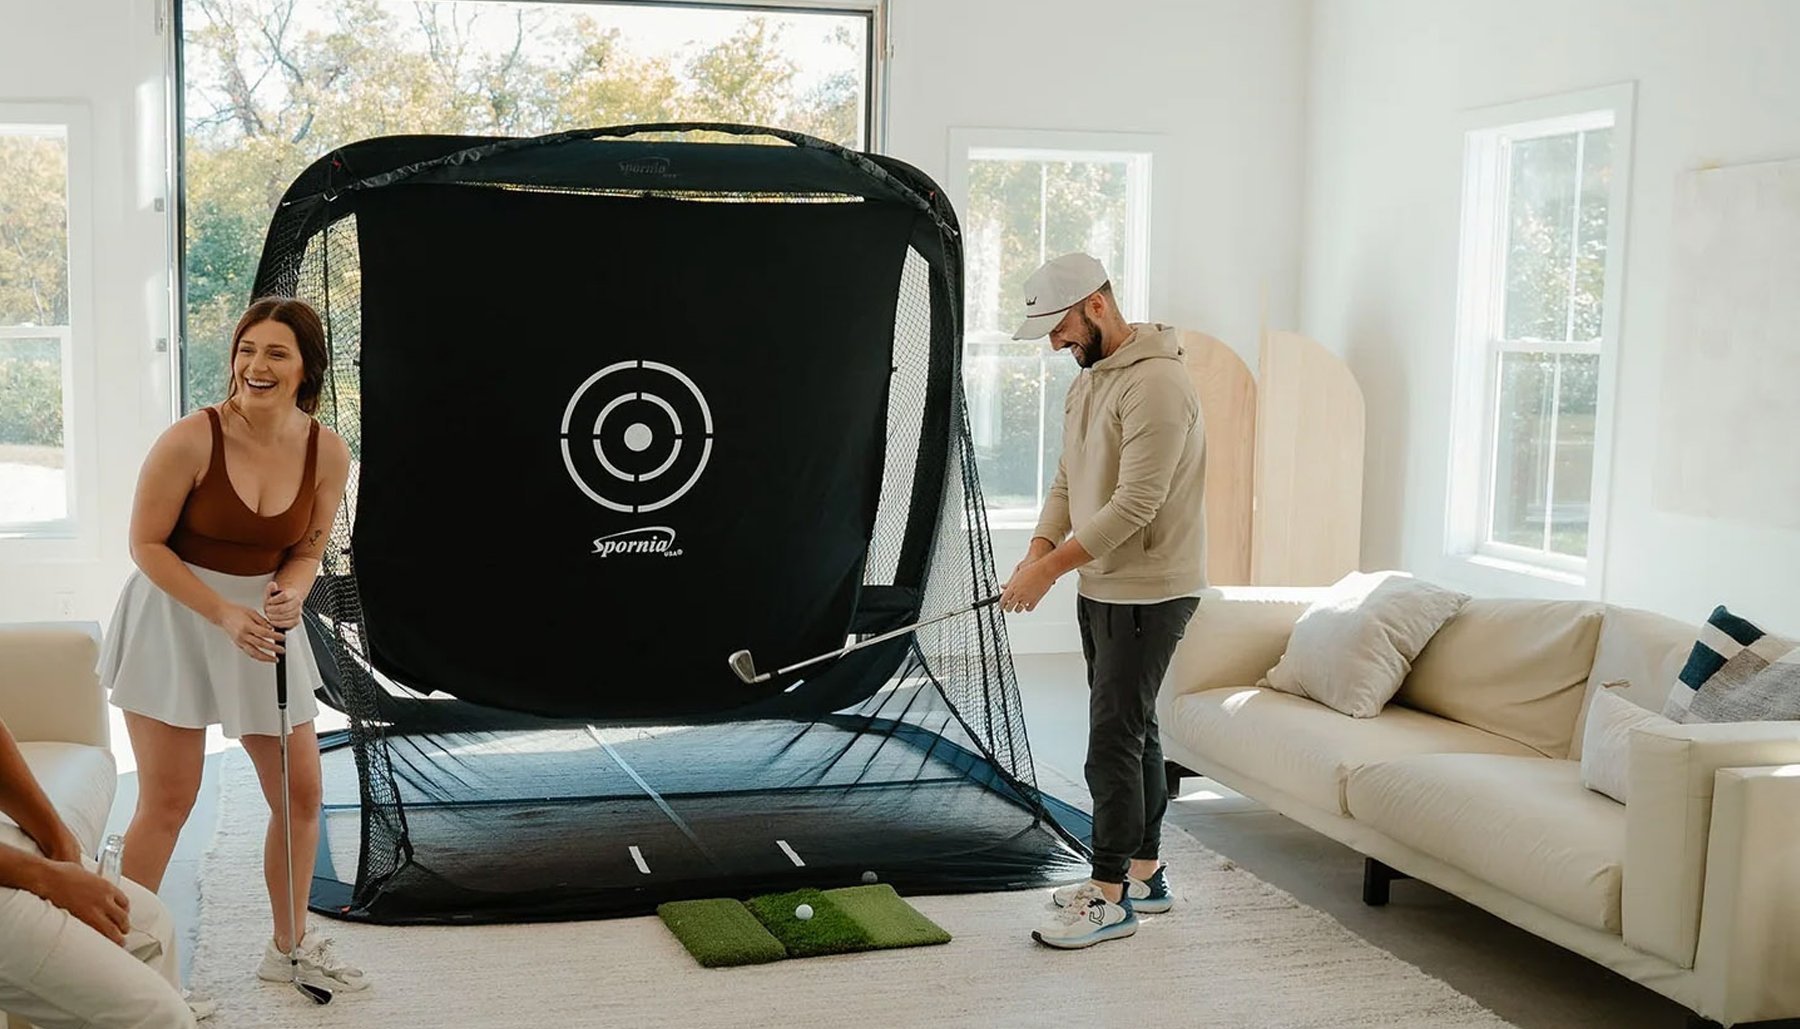
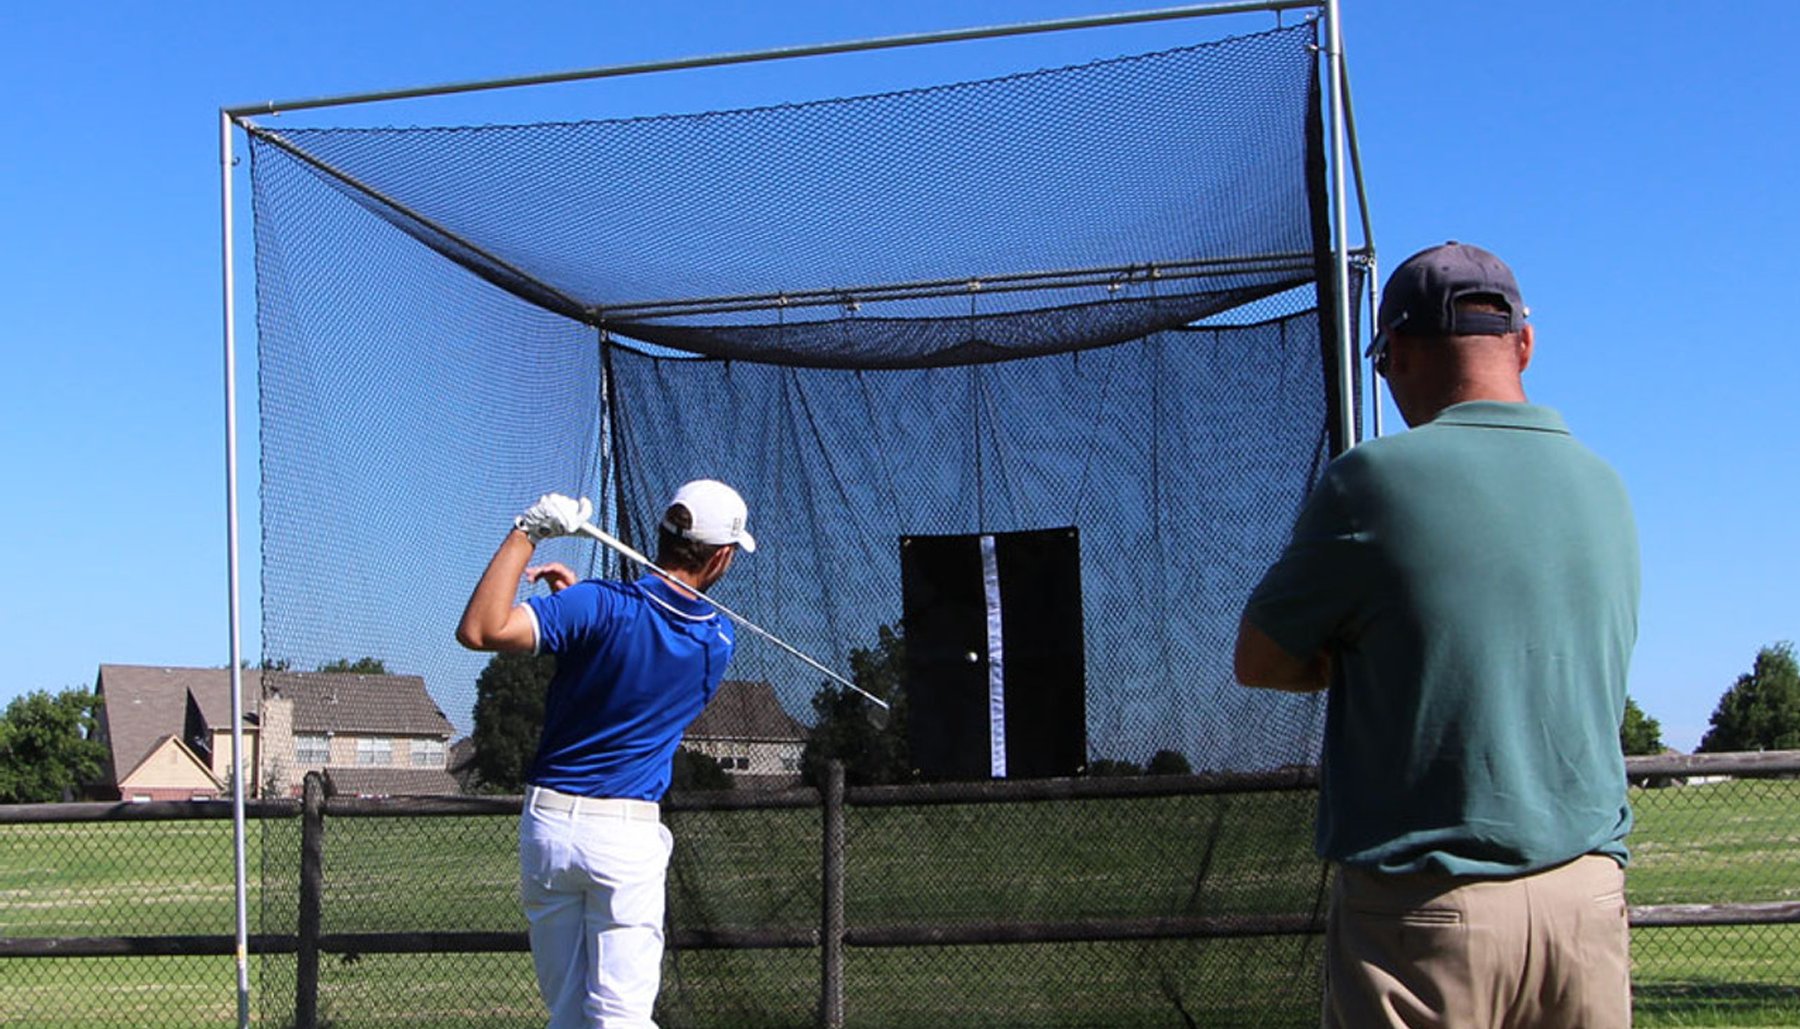


A commercial golf simulator enclosure needs to do more than fit inside the room. It needs to work with the available space, golfers, hitting area, impact screen, projector, launch monitor and the way the facility will use the simulator.
Commercial installations may serve teaching studios, golf academies, indoor golf facilities, club fitting operations, golf courses, country clubs, schools, training centers and other businesses.
Because different golfers may use the simulator throughout the day, planning the complete space becomes especially important.
Start with the room, determine how the simulator will be used and then choose an enclosure that works with the complete installation.
Measure the space. Plan for your golfers. Check your equipment. Then choose the enclosure.
Start With the Commercial Space
Before choosing an enclosure, measure the actual usable area.
Measure:
- Ceiling height
- Room width
- Total room depth
- Doors and entrances
- Columns
- Beams
- Lighting
- HVAC equipment
- Sprinkler components
- Electrical locations
- Other permanent obstacles
Don't rely only on building plans or overall room dimensions.
Measure the actual area where the simulator will be installed.

Plan for Different Golfers
A commercial simulator may be used by golfers of different:
- Heights
- Swing speeds
- Swing planes
- Skill levels
- Ages
- Handedness
A hitting position that works for one golfer may not work equally well for everyone.
Consider both right- and left-handed golfers if your facility expects to accommodate them.
The room should provide appropriate swing clearance for the range of golfers expected to use the simulator.
Check the Usable Ceiling Height
Measure from the finished floor to the lowest obstruction above the simulator and hitting area.
Look for:
- Beams
- Lights
- Ductwork
- Pipes
- Sprinkler components
- Projector mounts
- Other overhead equipment
The enclosure needs to fit beneath the ceiling, but golfers also need adequate swing clearance.
Enclosure height and required swing height are not necessarily the same thing.
Measure the Available Width
Commercial simulator rooms often benefit from additional width, but wider isn't automatically better.
The enclosure still needs to work with the room, golfer position, screen and projector.
Consider:
- Swing clearance
- Screen width
- Hitting position
- Right- and left-handed golfers
- Walkways
- Seating
- Equipment
- Adjacent simulator bays
If several simulators will be installed in the same facility, plan the complete layout before choosing individual enclosure widths.
Measure the Total Room Depth
Enclosure depth is only one part of the total room depth required for a commercial simulator.
The complete installation may also need room for:
- Impact-screen movement
- Hitting position
- Golf mat
- Golfer
- Backswing
- Launch monitor
- Projector
- Seating
- Walkways
- Instructor or club fitter
- Other equipment
Don't assume that a 5-foot- or 8-foot-deep enclosure requires only that amount of room.
Plan from the impact screen through the hitting area and into the space behind the golfer.
Consider How the Commercial Simulator Will Be Used
Different commercial applications can create different enclosure requirements.
Golf Teaching and Instruction
Teaching professionals may need room beside or behind the golfer to observe the swing, use training equipment or work with video.
Golf Academies
Golf academies may have golfers of different ages and skill levels using the same simulator.
Swing clearance and ball containment can become especially important.
Indoor Golf Facilities
Indoor golf businesses may operate multiple simulator bays and need to consider customer traffic, seating and separation between hitting areas.
Club Fitting
Club fitting operations may need additional room for equipment, clubs, computers and launch-monitor technology.
Golf Courses and Country Clubs
Simulator installations may be used for lessons, member entertainment, practice, club fitting or events.
Schools and Training Facilities
These installations may have multiple golfers and instructors using the simulator, making room planning and surrounding protection particularly important.
Choose the Right Enclosure Depth
America's Golf Mats offers enclosure depths ranging from 2 feet to 8 feet.
The appropriate depth depends on the available room and the amount of surrounding coverage required.
America's Compact™
America's Compact™ is designed to conserve floor space.
Its 2-foot depth may be useful in commercial or teaching environments where available room depth is limited.
- 8'H × 10'W × 2'D
- 9'H × 12'W × 2'D
- 8'H × 13'W × 2'D
- 9'H × 14'W × 2'D
- 9'H × 16'W × 2'D
America's Choice™
America's Choice™ provides a 5-foot enclosure depth and can work in teaching studios and other commercial environments where its dimensions fit the planned installation.
- 8'H × 10'W × 5'D
- 9'H × 12'W × 5'D
- 9'H × 16'W × 5'D
- 10'H × 16'W × 5'D
America's SafetyMax™
America's SafetyMax™ is designed for applications where additional golf-ball containment and protection are priorities.
This can make SafetyMax™ worth considering for teaching, training and other environments used by golfers with different skill levels.
- 8'H × 10'W × 6'D
- 9'H × 12'W × 6'D
- 9'H × 16'W × 6'D
- 10'H × 16'W × 6'D
Its 6-foot depth is combined with safety-focused features including:
- RIPSTOP360™ top and side protection
- Commercial baffle net behind the impact screen
- Impact screen inset approximately 12 inches
- Protective foam
- Optional rear blackout protection
- Optional SkyGuard™ overhead netting
America's Wall-to-Wall Studio Series™
America's Wall-to-Wall Studio Series™ is designed specifically for larger home simulator rooms and commercial golf simulator installations.
- 9'H × 16'W × 5'D
- 9'H × 16'W × 8'D
- 9'H × 18'W × 5'D
- 9'H × 18'W × 8'D
- 10'H × 20'W × 5'D
- 10'H × 20'W × 8'D
- Overlapping BlackOut Wrapper
- Side panels
- Top panel
- Pipe sleeves
- Heavy-duty impact screen
- Baffle net behind the screen
- Embedded angled interior netting
- Floating ViewPort
- SkyBridge™ span brackets
- Rigid steel Unistrut channel
- Launch-monitor compatibility
Consider Ball Containment in a Commercial Environment
Commercial simulator facilities can have golfers with widely different skill levels.
Think about where a mishit could travel and what surrounds the simulator.
Consider:
- Customers
- Employees
- Instructors
- Other golfers
- Adjacent simulator bays
- Computers
- Launch monitors
- Projectors
- Windows
- Lighting
- Furniture
- Other equipment
The amount of side and overhead coverage needed depends on the room, hitting position and intended use.
Plan the Impact Screen
The impact screen is both the golf-ball impact surface and the projection surface.
For a commercial simulator, consider:
- Screen dimensions
- Enclosure dimensions
- Projected image size
- Projector aspect ratio
- Screen installation
- Space behind the screen
- Expected frequency of use
A commercial environment may experience significantly more golf-ball impacts than a typical home simulator.
Inspect the impact screen and enclosure components regularly and replace worn or damaged components when necessary.
Plan the Golf Mat and Hitting Area
The golf mat is another important part of a commercial simulator.
The hitting surface may receive repeated use throughout the day, so consider both the hitting position and the intended traffic level.
Plan the mat together with:
- Enclosure
- Impact screen
- Golfer position
- Launch monitor
- Projector
- Right- and left-handed golfers
- Teaching or club-fitting space

Choose a Golf Simulator Mat Designed for Repeated Use
America's Golf Mats offers ProStrike Zero Shock™ Golf Simulator Mats for simulator installations.
View ProStrike Zero Shock™ Golf Simulator Mats →Plan the Simulator Equipment
Check Launch Monitor Requirements
Different launch monitors have different space and placement requirements.
Depending on the system, the launch monitor may operate:
- Beside the ball
- Overhead
- Behind the golfer
- Behind the ball
For commercial installations, also consider how the launch-monitor location affects customer movement, instructors and other equipment.
Always check the current installation requirements from the launch-monitor manufacturer before finalizing the room layout.
Plan the Projector With the Enclosure
The projector should be planned at the same time as the enclosure and impact screen.
Consider:
- Throw distance
- Mounting position
- Screen dimensions
- Native aspect ratio
- Desired image size
- Ceiling height
- Possible shadows
- Lighting
- Other ceiling equipment
If several simulator bays will be installed, projector placement should be planned across the entire facility.
Consider 4:3 vs. 16:9
The desired projected image can affect enclosure and screen selection.
Some installations may work with 4:3, while wider commercial simulator rooms may be designed around 16:9.
Don't choose an enclosure solely because of the desired aspect ratio.
Room dimensions, screen dimensions, enclosure dimensions and projector specifications should work together.
Plan the Complete Commercial Facility
Plan Customer and Instructor Space
Commercial simulator planning doesn't stop at the hitting area.
Depending on the business, you may need room for:
- Instructor
- Club fitter
- Customers waiting
- Spectators
- Seating
- Golf bags
- Clubs
- Computers
- Displays
- Training equipment
Keep walkways and access areas in mind when determining the total simulator-room dimensions.
Multiple Golf Simulator Bays
If you're building more than one simulator bay, plan the entire facility before ordering individual enclosures.
Consider:
- Bay width
- Separation between hitting areas
- Walkways
- Seating
- Customer traffic
- Right- and left-handed golfers
- Projector locations
- Launch monitors
- Electrical requirements
- Lighting
- Access to equipment
Consistent bay dimensions can create a cleaner commercial installation, but each room still needs to provide adequate space for the golfer and equipment.
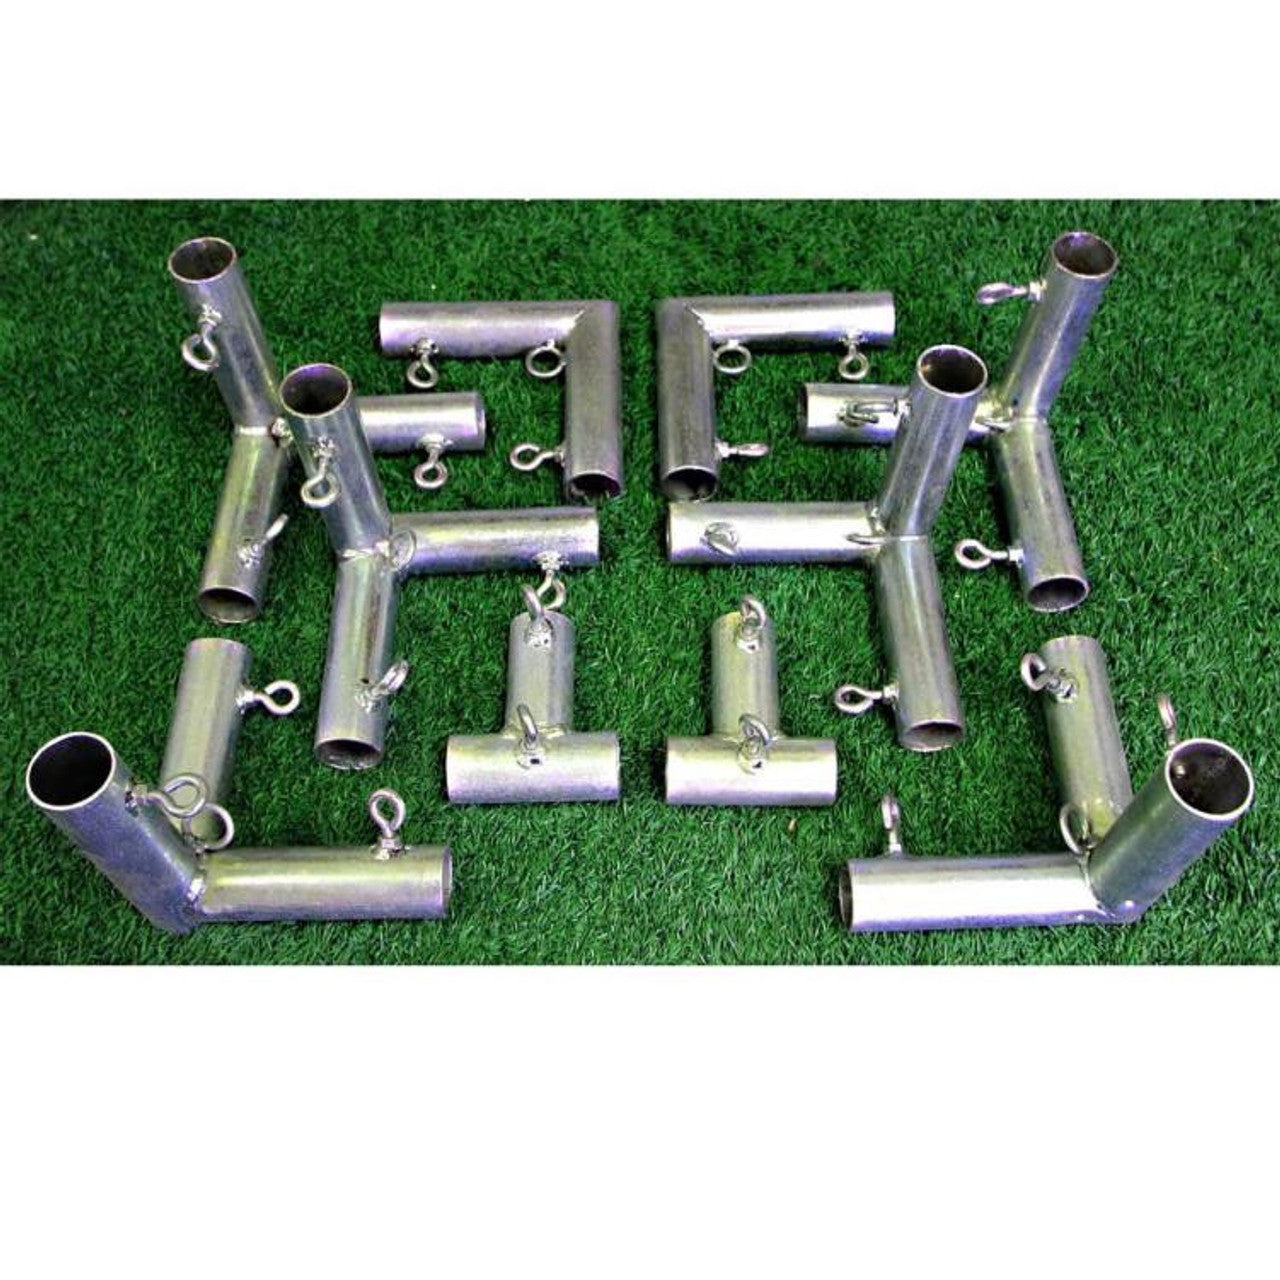
Frame Pole Options
America's Golf Mats enclosure systems offer frame-pole options depending on the enclosure family and installation.
For applicable systems, 1-inch EMT poles can be purchased locally, which can reduce the cost of shipping long frame sections.
Pre-cut EMT pole kits are also available for customers who prefer a ready-to-assemble frame-pole option.
For larger Wall-to-Wall Studio Series™ installations, the frame system includes SkyBridge™ Span Brackets and rigid steel Unistrut channel as part of the applicable pre-cut frame-pole configuration.
Commercial Golf Simulator Planning Checklist
- Measure usable height, width and total room depth.
- Plan for golfers of different sizes and skill levels.
- Check right- and left-handed swing clearance.
- Determine the required enclosure depth and surrounding coverage.
- Plan the impact screen.
- Determine the golf mat and hitting position.
- Check launch-monitor requirements.
- Plan projector placement.
- Consider instructor and customer space.
- Plan walkways and seating.
- Consider ball containment around the complete hitting area.
- Plan multiple simulator bays together when applicable.
- Confirm frame-pole requirements.
- Confirm all room and equipment measurements before ordering.
Which America's Golf Mats Enclosure Should I Consider for a Commercial Installation?
Ask SARA
America's Golf Simulator Enclosure Expert™
A commercial golf simulator enclosure should be planned around more than the enclosure dimensions.
Consider the room, golfers, hitting position, ball containment, impact screen, golf mat, projector, launch monitor and customer or instructor space as one complete installation.
Explore the Golf Simulator Enclosure Learning Center →
Reviewed by David Quail — America's Golf Mats
Golf products industry experience since 1997.
Golf simulator enclosure manufacturing experience dating to 2010.
Meet David Quail - Golf Simulator Enclosure Expert →
