





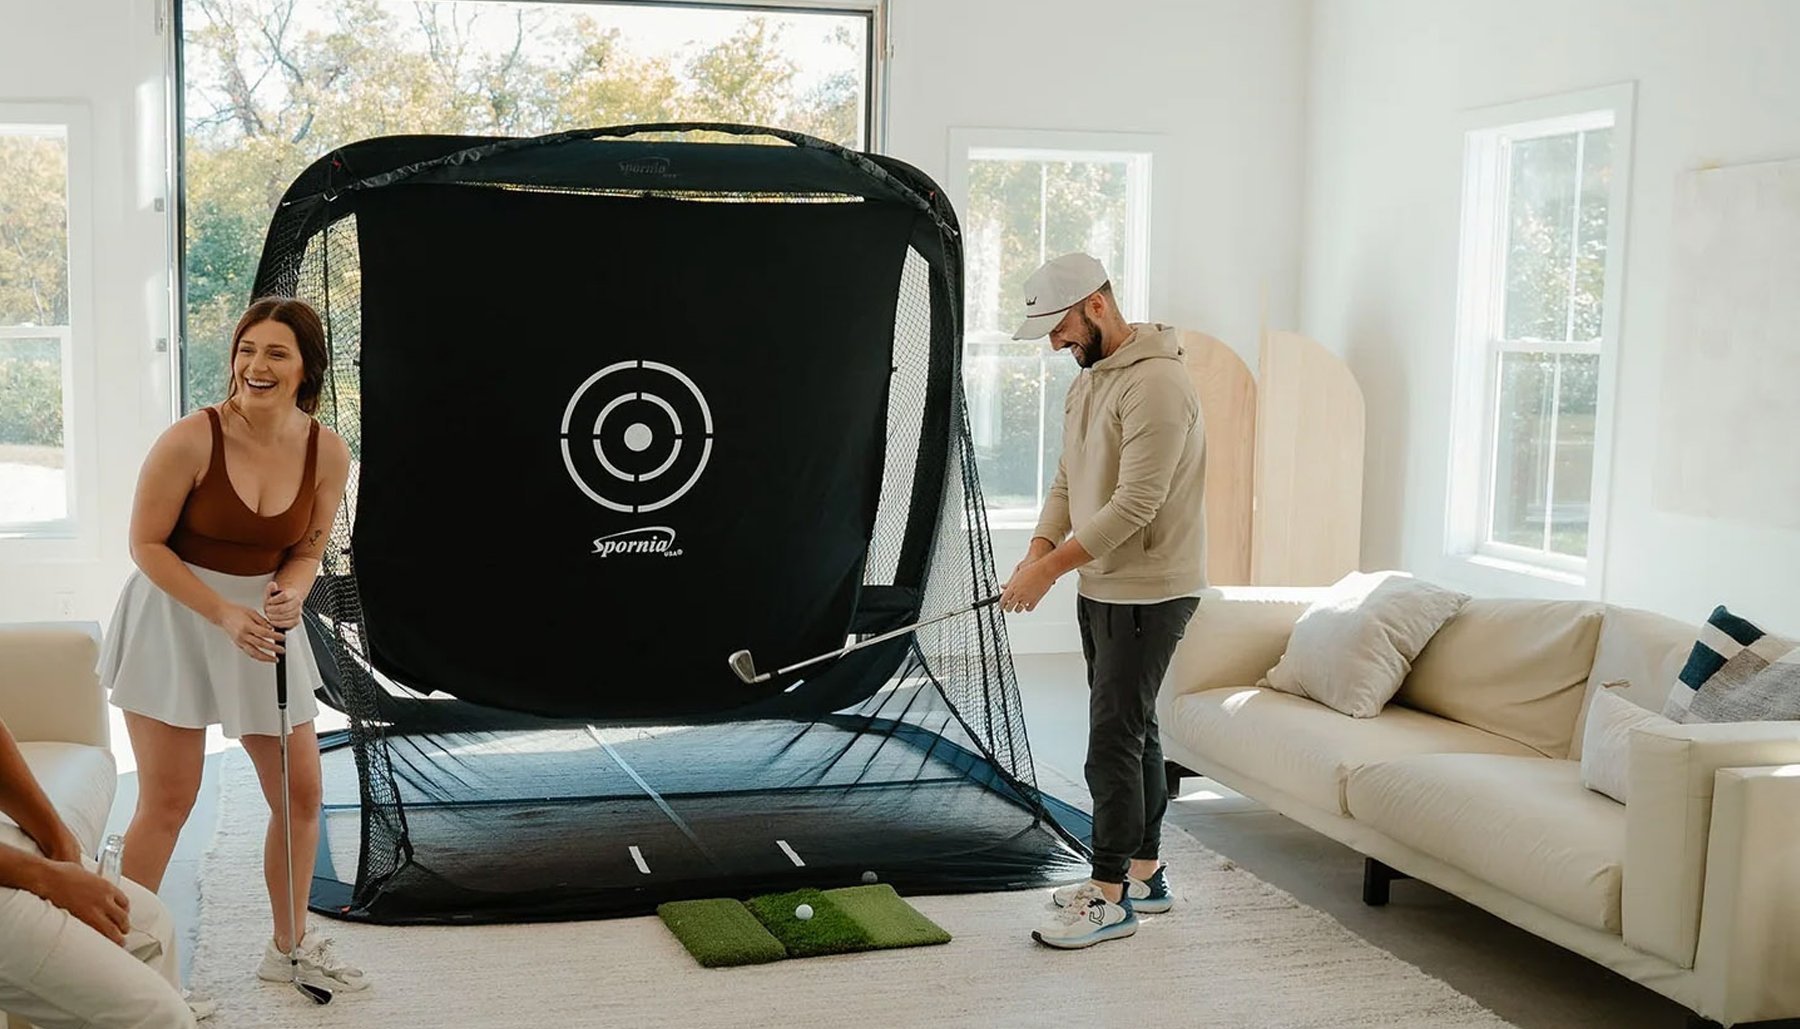
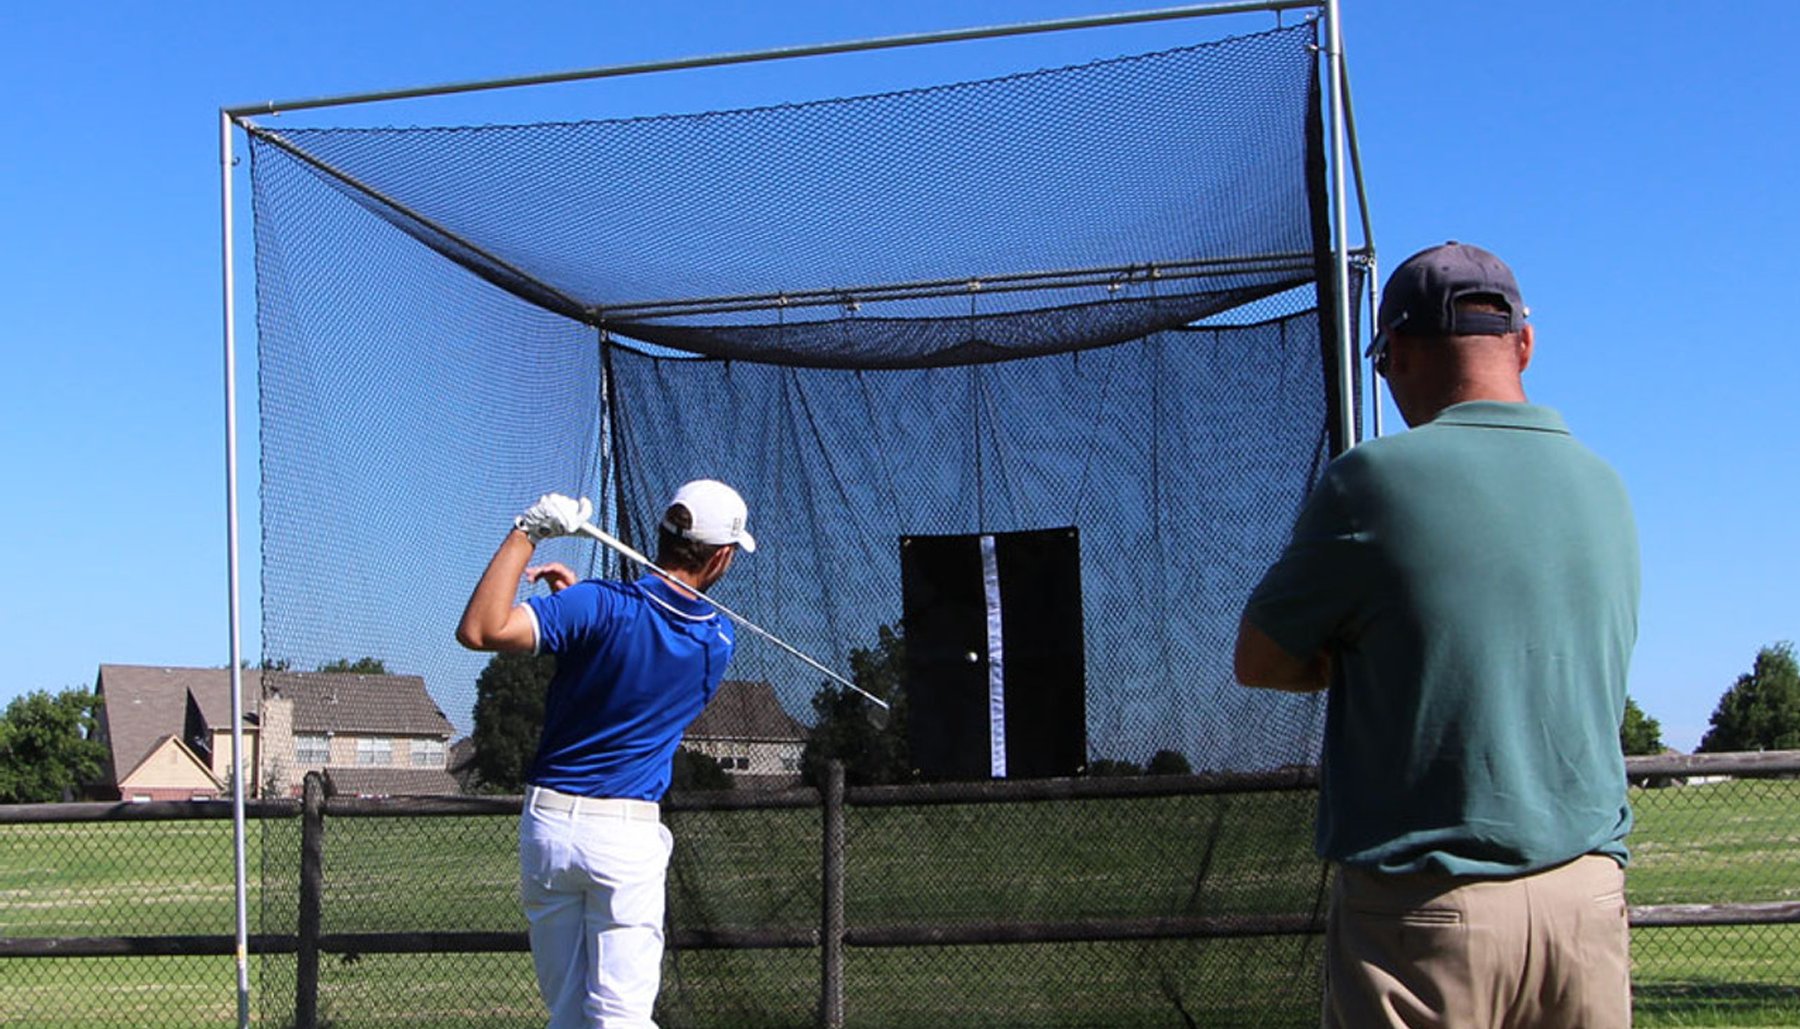


The right golf simulator enclosure size depends on your usable room height, width and total depth, your golf swing, and your equipment requirements. Start with those measurements, then select an enclosure that leaves room for the complete simulator setup.
America’s Golf Mats offers enclosure heights of 8, 9 and 10 feet, widths from 10 to 20 feet, and enclosure depths of 2, 5, 6 and 8 feet, depending on the model. Use the worksheet and size reference below to narrow your options.
1. Measure Your Usable Room Space
Measure the space where the enclosure and hitting area will actually be installed. Record obstructions as well as the overall room dimensions.
Usable Height
Measure from the finished floor to the lowest obstruction above the proposed hitting area. Check beams, lights, ceiling fans, ductwork, pipes, garage-door tracks and openers.
Also record the height of your golf mat or raised hitting platform. Standing on that surface reduces the clearance available above the golfer.

Usable Width
Measure the width available for the enclosure and the golfer’s swing. Account for cabinets, shelving, columns, door openings, furniture and access routes.
If both right- and left-handed golfers will use the simulator, check both hitting positions. A layout that works for one handedness may put the other golfer too close to a wall or obstacle.
Total Room Depth: Enclosure Size Is Only Part of the Layout
Enclosure depth is not the same as total simulator room depth. A 2-foot-deep enclosure does not mean a complete simulator fits in a 2-foot-deep room.
Plan the layout from the wall behind the screen through the hitting position and into the space behind the golfer. Allow for:
- The screen’s required movement and clearance behind it.
- The enclosure frame and its actual screen position.
- The distance from the impact screen to the golf ball.
- The golf mat, golfer’s swing and clearance behind the hitting position.
- Launch-monitor placement and tracking requirements.
- Walkways, seating or storage that will remain in use.
Follow the installation requirements for the specific enclosure, screen and equipment. Mark the proposed screen, frame and ball positions on the floor to see how they fit together. Some areas overlap, so do not simply add enclosure depth to every other distance.
2. Check Your Swing From the Planned Hitting Position
Once you have checked for obstacles, carefully test your swing from the proposed ball position, allowing for the height of the mat or platform you will use. Start slowly and check the backswing and follow-through.
Test the longest club you expect to use, including your driver if you plan to hit driver indoors. Check the space for other golfers who will regularly use the simulator.
Golfers differ in height, arm length and swing plane. There is no single ceiling height that guarantees comfortable clearance for every golfer.

3. Complete Your Golf Simulator Measurement Worksheet
Write down these measurements and requirements before comparing enclosure sizes. Use the same units throughout.
| Measurement or Requirement | Your Notes |
|---|---|
| Usable height from finished floor to lowest obstruction | __________ |
| Golf mat or hitting-platform height | __________ |
| Clearance from top of hitting surface to lowest obstruction | __________ |
| Usable room width | __________ |
| Total usable room depth | __________ |
| Screen-to-wall clearance required by your system | __________ |
| Planned impact-screen-to-ball distance | __________ |
| Space needed behind the ball for swing and equipment | __________ |
| Launch-monitor model and installation requirements | __________ |
| Projector model and planned mounting position | __________ |
| Right-handed, left-handed or both; swing checked? | __________ |
| Doors, overhead obstacles and access routes to keep clear | __________ |
| Enclosure size being considered: height × width × depth | __________ |
This worksheet is a planning aid. Confirm the selected product’s actual dimensions and installation clearances before ordering or cutting frame poles.
4. Choose Your Enclosure Height and Width
Should You Choose an 8-, 9- or 10-Foot-High Enclosure?
Use your measured height to identify models that can fit with the installation clearance they require. A taller enclosure can provide more screen area, but it does not create additional swing clearance in a low room.
What Enclosure Width Do You Need?
A narrower enclosure may suit a room with limited width. A wider model may provide a larger screen and suit a spacious home simulator, teaching studio or commercial installation.
Choose the width around the ball position, users’ swings, available screen area and surrounding coverage. Multiple users do not automatically require the widest enclosure; accommodating both handedness and keeping spectators clear are separate layout decisions.
5. Choose Enclosure Depth and Ball Containment
Depth affects the enclosure footprint and how far its side and overhead coverage extends. Consider the hitting position, who will use the simulator, and nearby windows, doors, electronics or vehicles.
A shallow enclosure can conserve room depth. A deeper design may provide more surrounding coverage, but depth alone does not determine containment: screen position, protective components and enclosure design also matter.

America’s Golf Mats Enclosure Size Reference
All dimensions below are listed as height × width × enclosure depth. They describe the enclosure, not a guaranteed minimum room size.

| Enclosure Family | Planning Priority | Available Sizes |
|---|---|---|
| America’s Compact™ | Conserve enclosure depth with a 2-foot-deep design. | 8′H × 10′W × 2′D 9′H × 12′W × 2′D 8′H × 13′W × 2′D 9′H × 14′W × 2′D 9′H × 16′W × 2′D |
| America’s Choice™ | A 5-foot-deep option for home, garage, basement and dedicated simulator rooms. | 8′H × 10′W × 5′D 9′H × 12′W × 5′D 9′H × 16′W × 5′D 10′H × 16′W × 5′D |
| America’s SafetyMax™ | A 6-foot-deep design with additional containment and protective features. | 8′H × 10′W × 6′D 9′H × 12′W × 6′D 9′H × 16′W × 6′D 10′H × 16′W × 6′D |
| America’s Wall-to-Wall Studio Series™ | Larger home, teaching and commercial installations, with 5- or 8-foot depths. | 9′H × 16′W × 5′D 9′H × 16′W × 8′D 9′H × 18′W × 5′D 9′H × 18′W × 8′D 10′H × 20′W × 5′D 10′H × 20′W × 8′D |
6. Match the Size to Your Launch Monitor, Projector and Screen
Launch-Monitor Requirements
Launch monitors may sit beside or behind the ball, or mount overhead. Check the current requirements for your exact model, including mounting location, tracking area and any required distances around the ball and screen.
Projector Placement
Confirm that the projector can produce your desired image from the available mounting position. Check throw distance, image size, brightness, overhead obstacles and possible shadows from the golfer.
4:3 or 16:9 Screen Format?
A 4:3 image is taller relative to its width; a 16:9 image is wider. Choose the format using the screen’s usable viewing area and your projector’s capabilities.
Screen Size vs. Viewable White Area
Our impact screens have a 2-inch black border on all four sides. The viewable white projection area is therefore 4 inches narrower and 4 inches shorter than the overall screen dimensions.
When planning your projected image, use the viewable white-area dimensions—not the overall screen or enclosure dimensions. Check the selected model’s screen specifications to match your projector and desired 4:3 or 16:9 image to the available white area.

7. Plan Your Golf Mat and Ball Position
Choose a mat that provides room for your stance and intended ball position. Plan its size and placement before finalizing the enclosure location, particularly if both right- and left-handed golfers will use the setup.
For installations over concrete or another hard floor, consider the hitting surface’s construction and shock absorption. America’s Golf Mats offers ProStrike Zero Shock™ simulator mats and ProStrike FLEX™ larger turf sizes and rolls for different floor layouts.

Your Final Size Check
- Complete the measurement worksheet and mark the planned screen, frame and ball positions.
- Confirm swing clearance from the intended hitting surface for the golfers and clubs you expect to use.
- Check the enclosure’s actual dimensions, assembly clearance and screen installation requirements.
- Confirm launch-monitor placement and projector compatibility.
- Check side and overhead coverage, nearby objects and access routes.
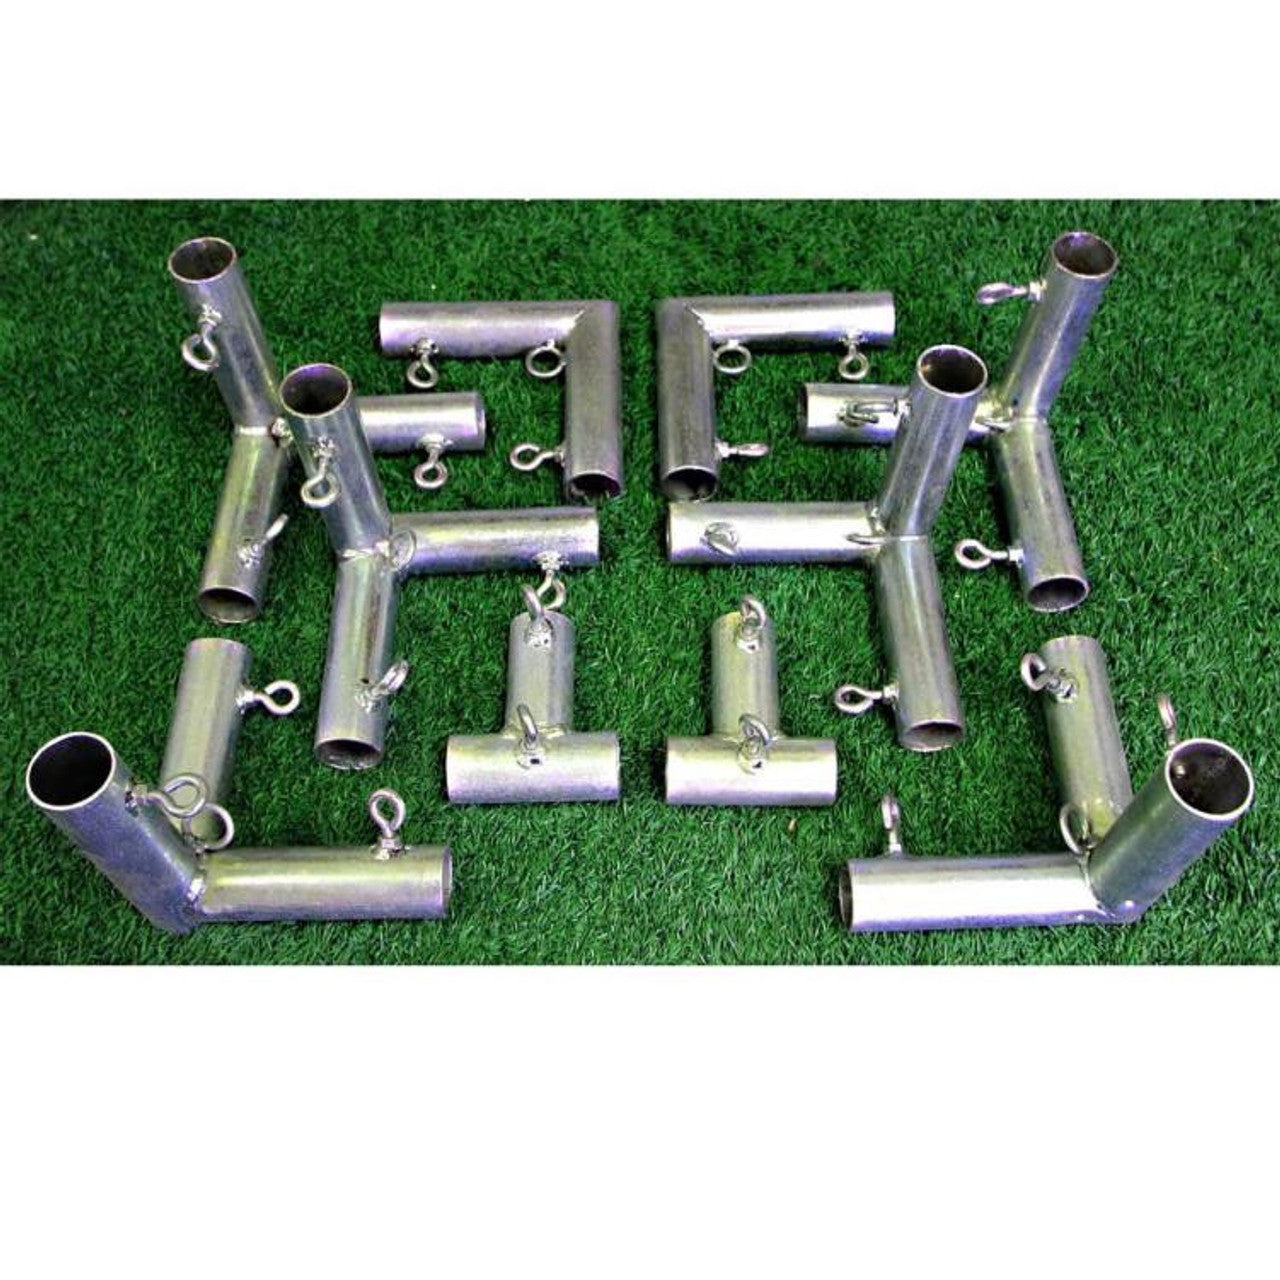
- Verify the selected model’s frame-pole requirements before ordering a pre-cut kit or cutting locally sourced poles.
Ask SARA
America’s Golf Simulator Enclosure Expert™
Can I Choose an Enclosure With the Same Dimensions as My Room?
Do not assume nominal dimensions alone confirm a fit. Check the model’s actual footprint and assembly clearances, then use your worksheet to confirm the hitting area and equipment layout. A room that only matches the advertised enclosure dimensions may leave too little space for installation or use.
Compare All Golf Simulator Enclosures → Back to Golf Simulator Enclosure Learning Center →
Reviewed by David Quail — America’s Golf Mats
Golf products industry experience since 1997.
Golf simulator enclosure manufacturing experience dating to 2010.


